Christmas is coming and a long and exciting fall is coming to and end. One of my projects during this fall has been to update the QmlBook. This was made possible by The Qt Company who generously stepped in and sponsored my work on this – thank you all!
I’ve worked away during the fall adding a whole bunch of new contents and the documentation people over at The Qt Company has joined in and helped with a language review. One frustrating aspect of the QmlBook project has unfortunately been that the CI/CD system has been broken for a very long time. This means that even the small typo fixes made over the past months has not made it beyond the source git repository.
All this changed tonight! After fighting with Travis, trying to understand why things around Sphinx Docs has broken, realizing that Travis has quirks – as has the old QmlBook deployment setup, I could finally merge pull request #221 – Implementing CI/CD (and then fiddled around with the last quirks). Big thanks to my co-author, Jürgen Bocklage-Ryannel, who reviewed and helped me through this.
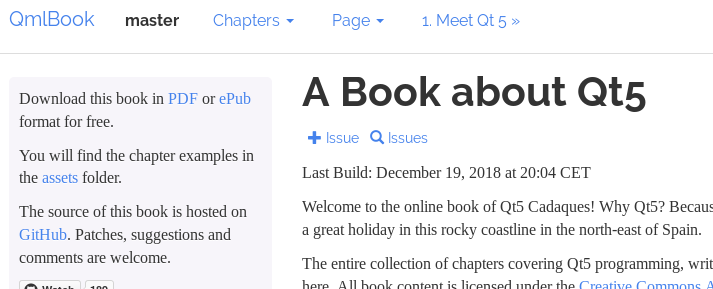
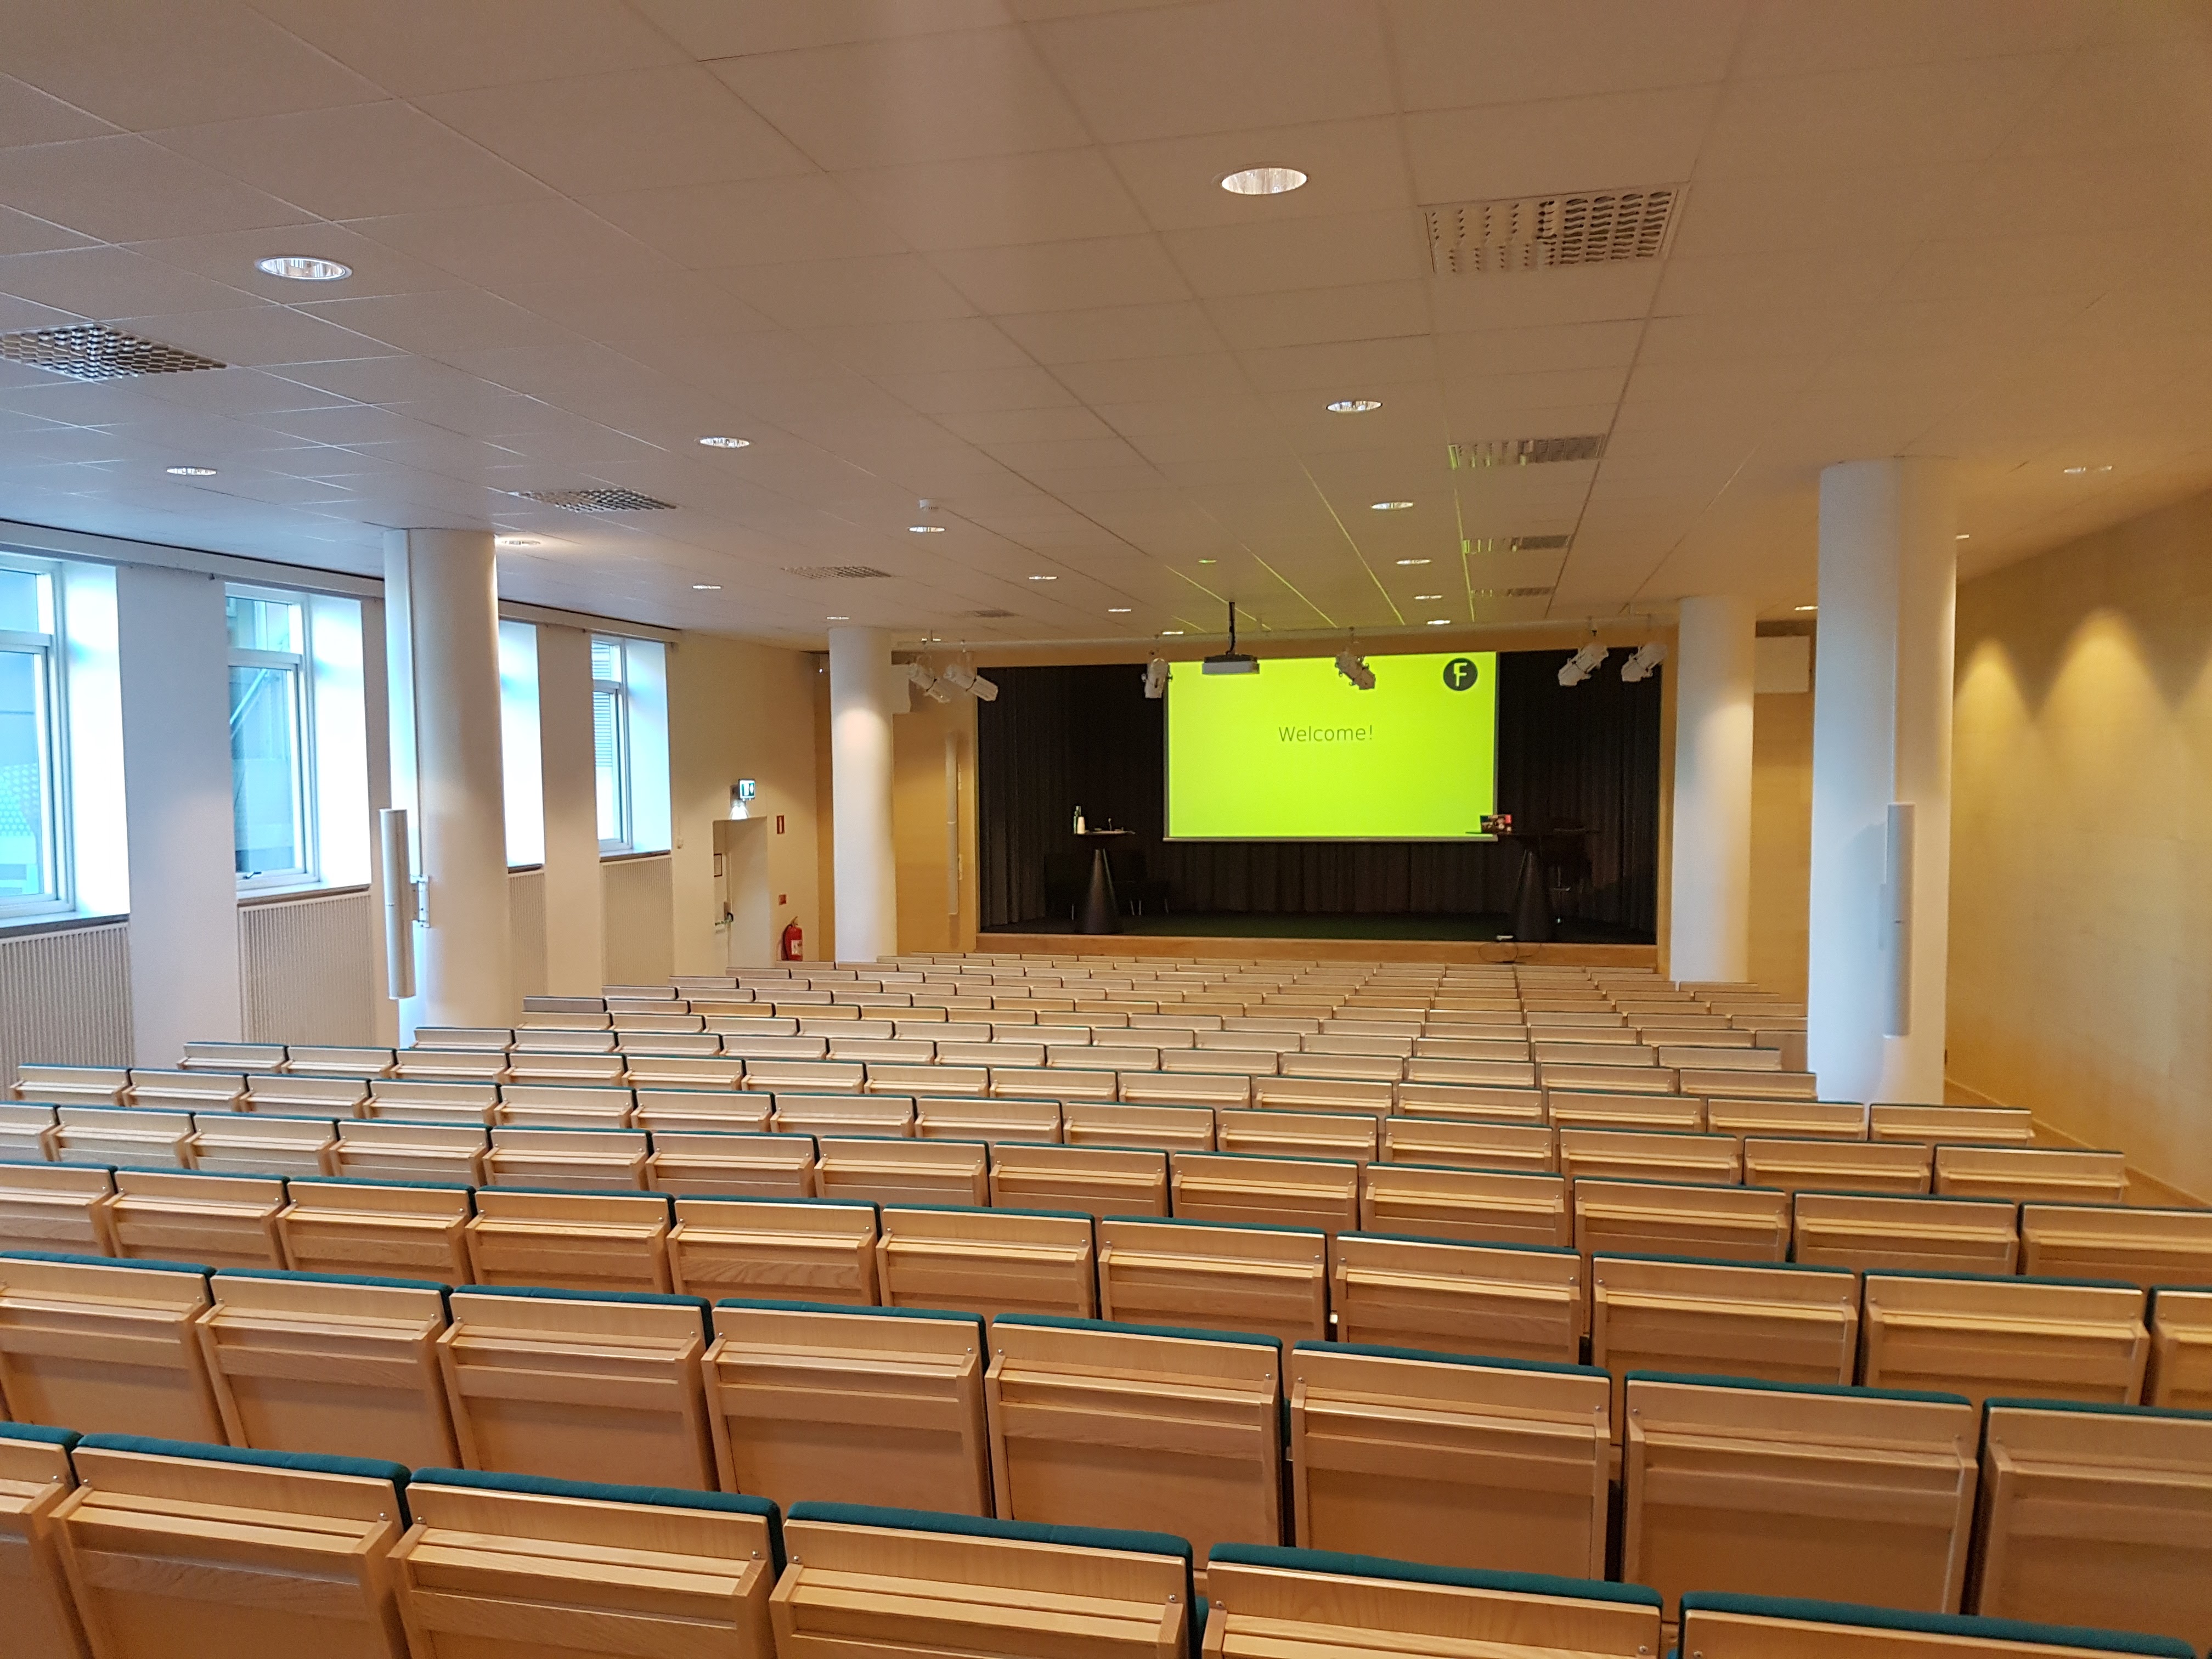
To celebrate this, I took the liberty of changing the style of the page. This way, you will recognize that you are browsing the new, updated QmlBook.
There were unfortunately a few sacrifices made during this transition. We lost support for generating QtHelp (it can most likely be fixed) and we dropped support for translations during a transitional period. There is a plan for both translations and different parallel versions of the book. The idea is to tune each version of the book to a specific Qt version.
To sum things up: expect broken links. Expect missing contents. But know that the contents is up-to-date!
Editing videos for foss-gbg and foss-north has turned into something that I do on almost a montly basis. I’ve tried a few workflows, but landed in using kdenlive and, when needed, Audacity. I’m not a very advanced audio person, so if kdenlive would incorporate basic noise reduction and a compressor, I stay within one tool.
Before I describe the actual process, I want to mention something about the hardware involved. There are so many things that you can do when producing this type of contents. However, all the pieces that you add to the puzzle is another point of failure. The motto is KISS – Keep It Simple Stupid. Hence, we use a single video camera with an integrated microphone. This is either an action cam, or a JVC video camera. In most cases this just works. In some cases the person talking has a microphone and then we try to place the camera close to a speaker. It has happened that we’ve recorded someone whispering just by the camera…
As we don’t have a dedicated microphone for the speaker, we get an audio stream that includes the reaction of the audience. That is in my opinion a good thing. It captures the mood of the event. However, we also get quite a lot of background noise which is bad. For this, I rely on this workflow from Rich Bowen. Basically, I extract the audio stream from the recording, massage it in Audacity, and then re-introduce it.
I’ve found it easier to cut the video prior to fixing the audio. This usually means find the start and the end of the talk, but in some cases it is more complex. E.g. removing parts of the Q&A due to reasons, or cutting out a demo that makes no sense when watching the video.
Once in Audacity, I generally pick out a “silent” part of the recoding to learn a noise profile. I then apply a noise reduction effect to the entire recording. This commonly produces a somewhat distorted sound (like if spoken into a can), but the voice of the speaker comes across nicely. After that, I usually apply a compressor effect to balance the loud and quite parts better. I’ve noticed that speakers often start out with a loud voice, and then softens the voice during the talk. For such cases, the compressor helps. It also helps balancing the sound level during Q&A where the audience might be quite or loud compared to the speaker depending on the layout of the venue.
Once the video and audio are cut and filtered, we need some intro and exit screens. I create these using LibreOfficeImpress. I have created a template for the title page with the title of the talk and the name of the speaker, followed by a slide with room for the sponsor logo. This has a white background as logos mix badly with the crazy yellow colour of foss-gbg. Finally there is an exit slide which just says foss-gbg.se. I then export the slides to pdf and use ImageMagick to create pngs from them. Since I’m lazy, I just produce huge pngs that I mogrify to the right size. The entire flow looks like this:
The very last step of the process is to overlap the intro and exit screens with the start and end of the video in a good way. I mix this with fading the audio in and out. The trickiest is fading in, as it is nice to hear the first words of the speaker but you don’t want the noise from the audience. I’ve found that no matter what, you need to fade in the sound, even if the fade only lasts for a fraction of a second. Fading out is easy as things usually ends in an applause.
Then it is all about clicking render, remembering to change the name of the output file and uploading to the foss-gbg YouTube channel.
Do you remember QML Book? It started as a project between me and Jürgen Bocklage-Ryannel where we tried to fix the problem that there is no QML book out there.
Back in the Qt 5.2 days, we spent wrote about a year. Unfortunately, the project has mainly been sitting idle since then. I’ve poked at issues every now and then, and Jürgen has done various fixes as well.
Thanks to The Qt Company, this is changing. This autumn, it sponsors me to work on the project. The current plan is to add a chapter to Qt Quick Controls 2, and to update the entire contents to Qt 5.12 and Qt Creator 4.8. By doing so, many of the remaining bug reports will be resolved.
Other things in the backlog are getting the CI system back into shape and having a native speaker edit the language. All in all, this will result in an up-to-date book on QML. If you want to help out, just reach out to me or send me your pull requests. All help is welcome!
I recently took some time to develop a photo frame style home automation control panel. The idea is to control some common tasks of my home assistant setup from a panel instead of having to rely on the phone. To hide the panel, it currently act as a photo frame until touched.
The build is based on a Raspberry Pi 2 with the official touch screen attached and a USB wifi dongle. Nothing fancy, but still good enough.
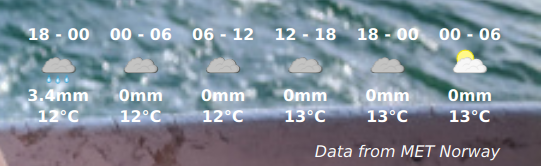
One of the features that I wanted was a weather forecast, so I decided to use Yr’s xml weather as a base for this. The result is the YrWeatherModel QML item.
The weather forecast overlay.
The presentation side of things is the fairly straight forward piece of QML shown below, resulting in the overlay shown above.
Diving into the model itself, we hit the interesting parts. The structure looks like this:
Item {
    id: root

    property alias model: weatherModel
    property int refreshHour: 1     // How often is the model refreshed (in hours)
    property int dataPoints: 6      // How many data points (max) are expected (in 6h periods)
    property string place           // Place, URL encoded and according to Yr web site, e.g. Sweden/V%C3%A4stra_G%C3%B6taland/Alings%C3%A5s
    readonly property string dataSourceNotice: "Data from MET Norway"

    ListModel {
        id: weatherModel
    }

    Timer {
        interval: 3600000 * root.refreshHour
        running: true
        repeat: true
        onTriggered: {
            _innerModel.reload();
        }
    }

    XmlListModel {
        id: _innerModel

        query: "/weatherdata/forecast/tabular/time"

        source: (place.length === 0)?"":("https://www.yr.no/place/" + root.place + "/forecast.xml")

        XmlRole { name: "period"; query: "string(@period)" }
        XmlRole { name: "symbol"; query: "symbol/string(@number)"; }
        XmlRole { name: "temperature"; query: "temperature/string(@value)"; }
        XmlRole { name: "precipitation"; query: "precipitation/string(@value)"; }

        onStatusChanged: {
            // ...
        }
    }
}
As you can see, the model consists of an inner model of the type XmlListModel. This model is refreshed by a timer (don’t refresh too often – you will most likely be auto-banned by Yr). At the top, there is also a ListModel that is the actual model used by the user interface.
The reason for the ListModel to exist is that I wanted to be able to limit how many data points I show. Each data point represents a six hour window, and I’d like 6 of them, i.e. one and a half day of forecasting.
The onStatusChanged handler in the XmlListModel takes care of this in the following for loop:
onStatusChanged: {
    if (status === XmlListModel.Ready)
    {
        for(var i = 0; i< root.dataPoints && i < count; ++i)
        {
            var symbol = get(i).symbol;
            var period = parseInt(get(i).period);
            var is_night = 0;

            if (period === 3 || period === 0)
                is_night = 1;

            weatherModel.set(i, {
               "period":period,
               "symbol":symbol,
               "symbolSource":"https://api.met.no/weatherapi/weathericon/1.1/?symbol=" + symbol + "&is_night=" + is_night + "&content_type=image/png",
                "temperature":get(i).temperature,
                "precipitation":get(i).precipitation
                });
        }
    }
    else if (status === XmlListModel.Error)
    {
        console.warn("Weather error")
        console.warn(errorString());
    }
}
As you can tell, this code has *very* limited error handling. It is almost as it has been designed to break, but it works. The code also shows how convenient it is to connect to online services via QML to build simple, reusable, models that can be turned into beautiful user interfaces.
Next time I have some free time, I’ll look at interfacing with the public transport APIs. Then I will have to deal with JSON data and make explicit XmlHttpRequest calls.
At this year’s foss-north event FSFE will revive the Nordic Free Software Award and the conference will host the prize ceremony. Get your tickets for a great opportunity to meet with the FOSS community, learn new things and visit Gothenburg.
It is just 9 more days left of the Call for Papers. With the help of our great sponsors we have the opportunity to transport you to our conference if you are selected to speak. Make sure to make your submission before March 11 and you are in the race.
We are approaching the count down to foss-north 2018 – at least from an organizer perspective. This year we will be at Chalmers Conference Centre, in the centre of Gothenburg – the world’s most sociable, friendliest city. So, save the date – April 23 – and make sure to drop by.
The reason why it feels like the count down has started is that it is just 10 more days left of the Call for Papers. With the help of our great sponsors we have the opportunity to transport you to our conference if you are selected to speak. Make sure to make your submission before March 11 and you are in the race.
When moving to Chalmers we ended up with a larger venue than last year so make sure to get your ticket – and bring your friends. The saying “the more the merrier” definitely applies to FOSS conferences!
I recently followed the advice of @sehurlburt to offer help to other developers. As I work with Qt and embedded Linux on a daily basis, I offered to help. (You should do the same!)
As it is easy to run out of words on Twitter, so here comes a slightly more lengthy explanation on how I build the latest and greatest of Qt for my Debian machine. Notice that there are easier ways to get Qt – you can install it from packages, or use the installer provided from The Qt Company. But if you want to build it yourself for whatever reason, this is how I do it.
First step is to get the build dependencies to your system. This might feel tricky, but apt-get can help you here. To get the dependencies for Qt 5, simply run sudo apt-get build-dep libqt5core5a and you are set.
Next step would be to get the Qt source tarball. You get it by going to https://www.qt.io/download/, select the open source version (unless you hold a commercial license) and then click the tiny View All Downloads link under the large Your download section. There you can find source packages for both Qt and Qt Creator.
Having downloaded and extracted the Qt tarball, enter the directory and configure the build. I usually do something like ./configure -prefix /home/e8johan/work/qt/5.9.0/inst -nomake examples -nomake tests. That should build everything, but skip examples and tests (you can build these later if you want to). The prefix should point to someplace in your home directory. The prefix has had some peculiar behaviour earlier, so I try to make sure not to have a final dash after the path. When the configuration has been run, you can look at the config.summary file (or the a bit higher up in the console output) and you can see a nice summary of what you are about to build. If this list looks odd, you need to look into the dependencies manually. Once you are happy, simply run make. If you want to speed things up, use the -j option with the highest number you dare (usually number of CPU cores plus one). This will parallelize the build.
Once the build is done (this takes a lot of time, expect at least 45 minutes with a decent machine), you need to install Qt. Run make install to do so. As you install Qt to someplace in your home directory, you do not need to use sudo.
The entry point to all of Qt is the qmake tool produced by your build (i.e. prefix/bin/qmake). If you run qmake -query you can see that it knows its version and installation point. This is why you cannot move a Qt installation around to random locations without hacking qmake. I tend to create a link (using ln -s) to this binary to somewhere in my path so that I can run qmake-5.9.0 or qmake-5.6.1 or whatnot to invoke a specific qmake version (caveat: when changing Qt version in a build tree, run qmake-version -recursive from the project root to change all Makefiles to the correct Qt version, otherwise you will get very “interesting” results).
Armed with this knowledge, we can go ahead and build QtCreator. It should be a matter of extracting the tarball, running the appropriate qmake in the root of the extracted code followed by make. QtCreator does not have to be installed, instead, just create a link to the qtcreator binary in the bin/ sub directory.
Running QtCreator, you can add Qt builds under Tools -> Options… -> Build & Run. Here, add a version by pointing at its qmake file, e.g. the qmake-5.9.0 link you just created. Then it is just a matter of picking Qt version for your project and build away.
Disclaimer! This is how I do things, but it might not be the recommended or even the right way to do it.
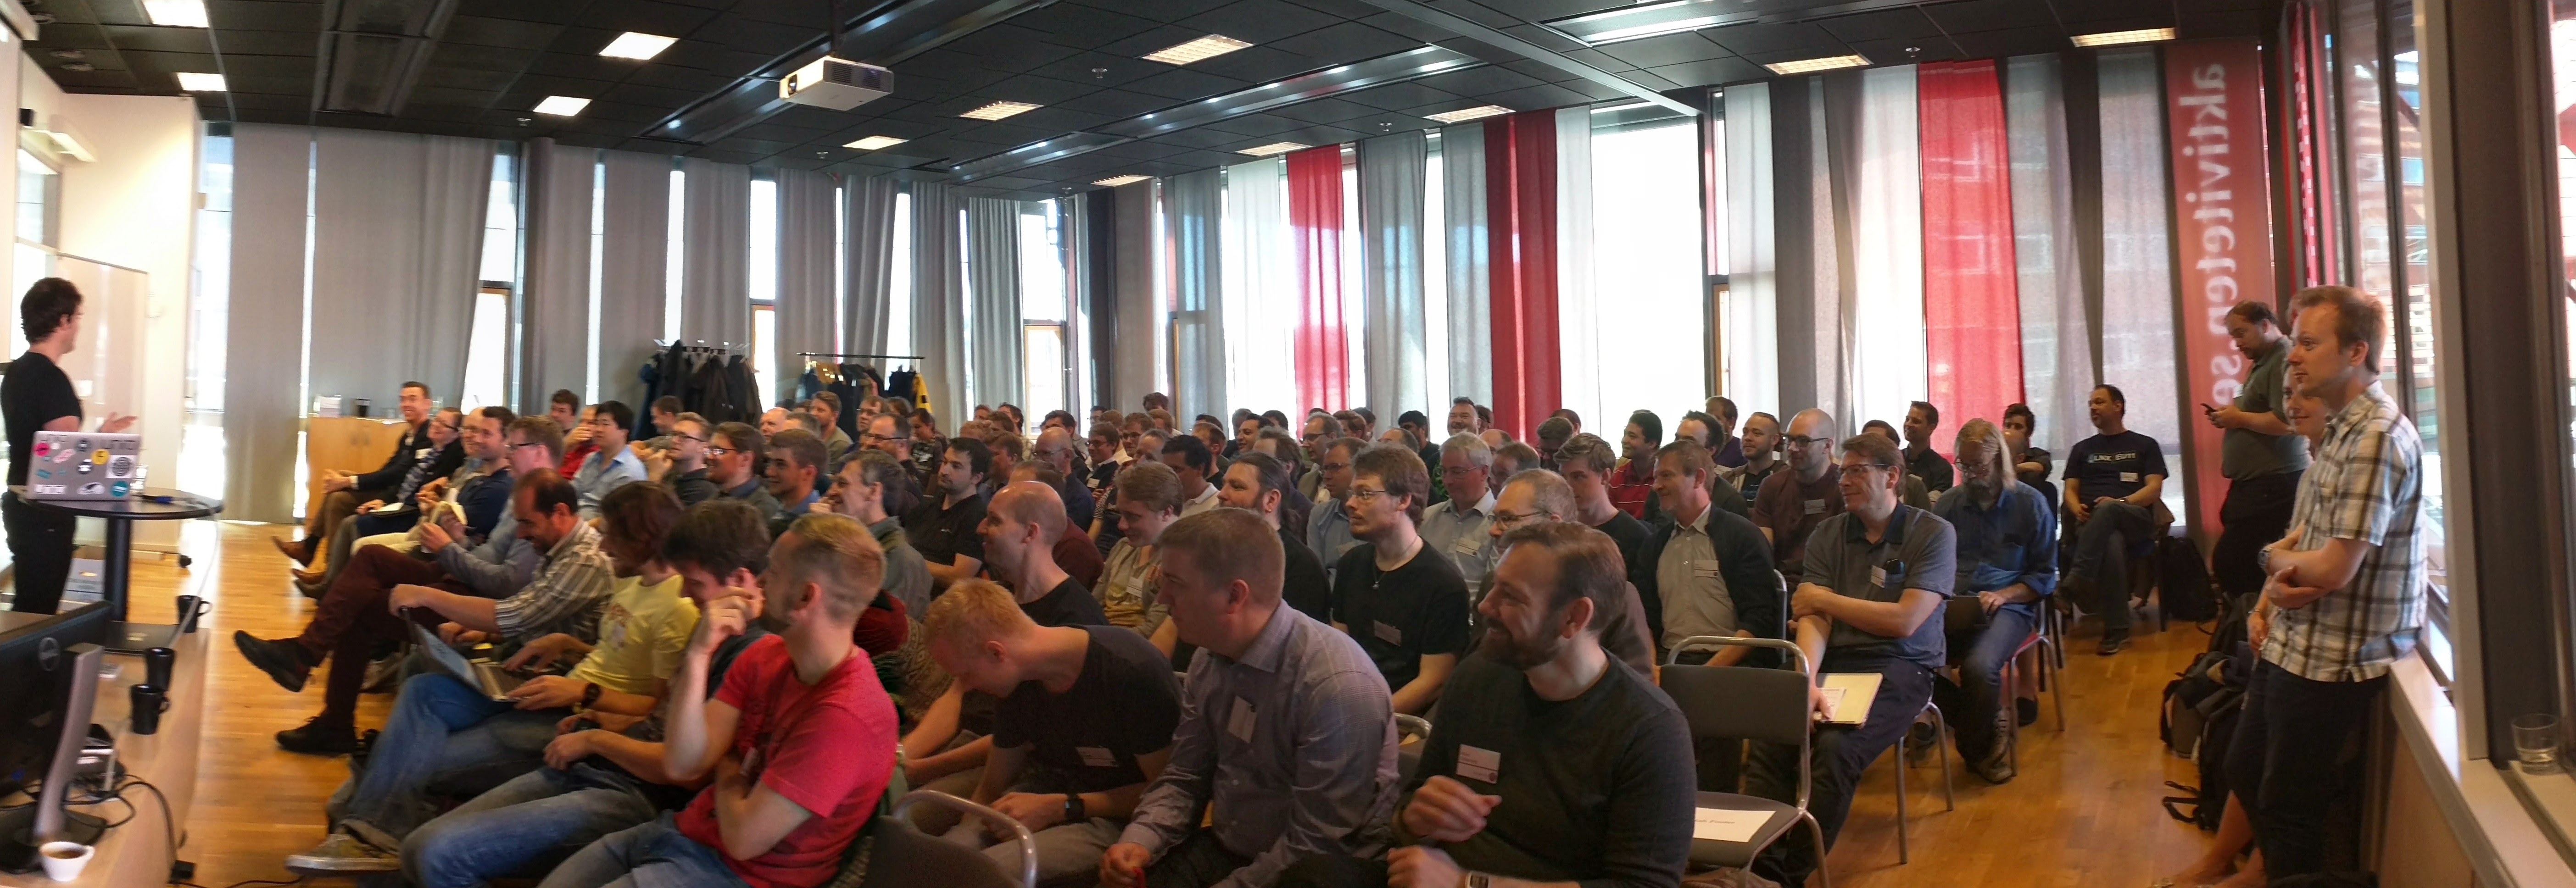
Trying to put together something like this is really hard – you want the best speakers, but you also want a mix of local and international, various technologies, various viewpoints and much, much more. For 2017 we will have open hardware and open software, KDE and Gnome, web and embedded, tech talks and processes, and so on.
… speak in front of a great audience of 220 people (if we sell all the tickets – get your’s here).
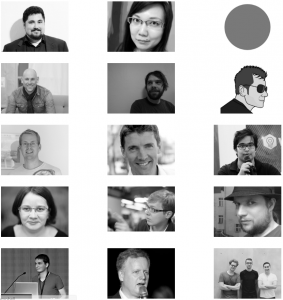
… listen to other awesome speakers. Right now we’ve confirmed Lydia Pintscher, Lennart Poettering, Knut Yrvin and Jos Poortvliet. (There will be more awesome speakers announced when the call for papers is over).
So what are you waiting for – submit your talk proposal and join us at foss-north 2017!