CarConnectivity and the ID.Buzz

I just got myself a brand new car: an ID.Buzz with seven seats so that I can fit the whole family at once. I’m very happy with the car this far, but since it has connectivity, I want to see if I can integrate it into HomeAssistant.

To do this, I wanted to use the CarConnectivity project by Till Steinbach. It is a Python package that comes in a few parts. The main project, a Volkswagen connector, an MQTT bridge and a HomeAssistant MQTT discovery helper.

Having played with the software for a bit (and reported a bug that Till fixed asap – I’m impressed!) I decided to setup the whole thing on my little RaspberryPi that runs a few little services I use around the house.

Preparing this, I setup a new user and installed the software in a Python virtual environment:

sudo adduser carconnectivity
sudo su carconnectivity
cd
mkdir carconnectivity
cd carconnectivity/
python -m venv venv
source venv/bin/activate
pip install carconnectivity-connector-volkswagen==0.5a1 carconnectivity-plugin-mqtt carconnectivity-plugin-mqtt_homeassistant
vim carconnectivity.json

Using the vim command, I created the CarConnectivity configuration file. Update usernames, passwords and IPs to your needs. I will experiment with the interval parameter, as I don’t want to discharge the 12v battery by querying the car too much.

{
        "carConnectivity": {
                "log_level": "error",
                "connectors": [
                        {
                                "type": "volkswagen",
                                "config": {
                                        "interval": 1800,
                                        "username": "hello@example.com",
                                        "password": "secret"
                                }
                        }
                ],
                "plugins": [
                        {
                                "type": "mqtt",
                                "config": {
                                        "broker": "my-mqtt.local",
                                        "username": "user",
                                        "password": "secret"
                                }
                        },
                        {
                                "type": "mqtt_homeassistant",
                                "config": {}
                        }
                ]
        }
}

Having configured the service (and having run it manually to fix my mistakes) I created the carconnectivity.service systemd service shown below (in /etc/systemd/system):

[Unit]
Description=Car Connectivity to MQTT
After=network-online.target

[Service]
Type=simple
User=carconnectivity
Group=carconnectivity
WorkingDirectory=/home/carconnectivity/carconnectivity/
Environment="LC_ALL=sv_SE"
ExecStart=/home/carconnectivity/carconnectivity/venv/bin/carconnectivity-mqtt /home/carconnectivity/carconnectivity/carconnectivity.json

[Install]
WantedBy=multi-user.target

And then I started and enabled the service.

sudo systemctl start carconnectivity
sudo systemctl enable carconnectivity

Finally, I had a look at the status and made sure that everything looks ok.

sudo systemctl status carconnectivity

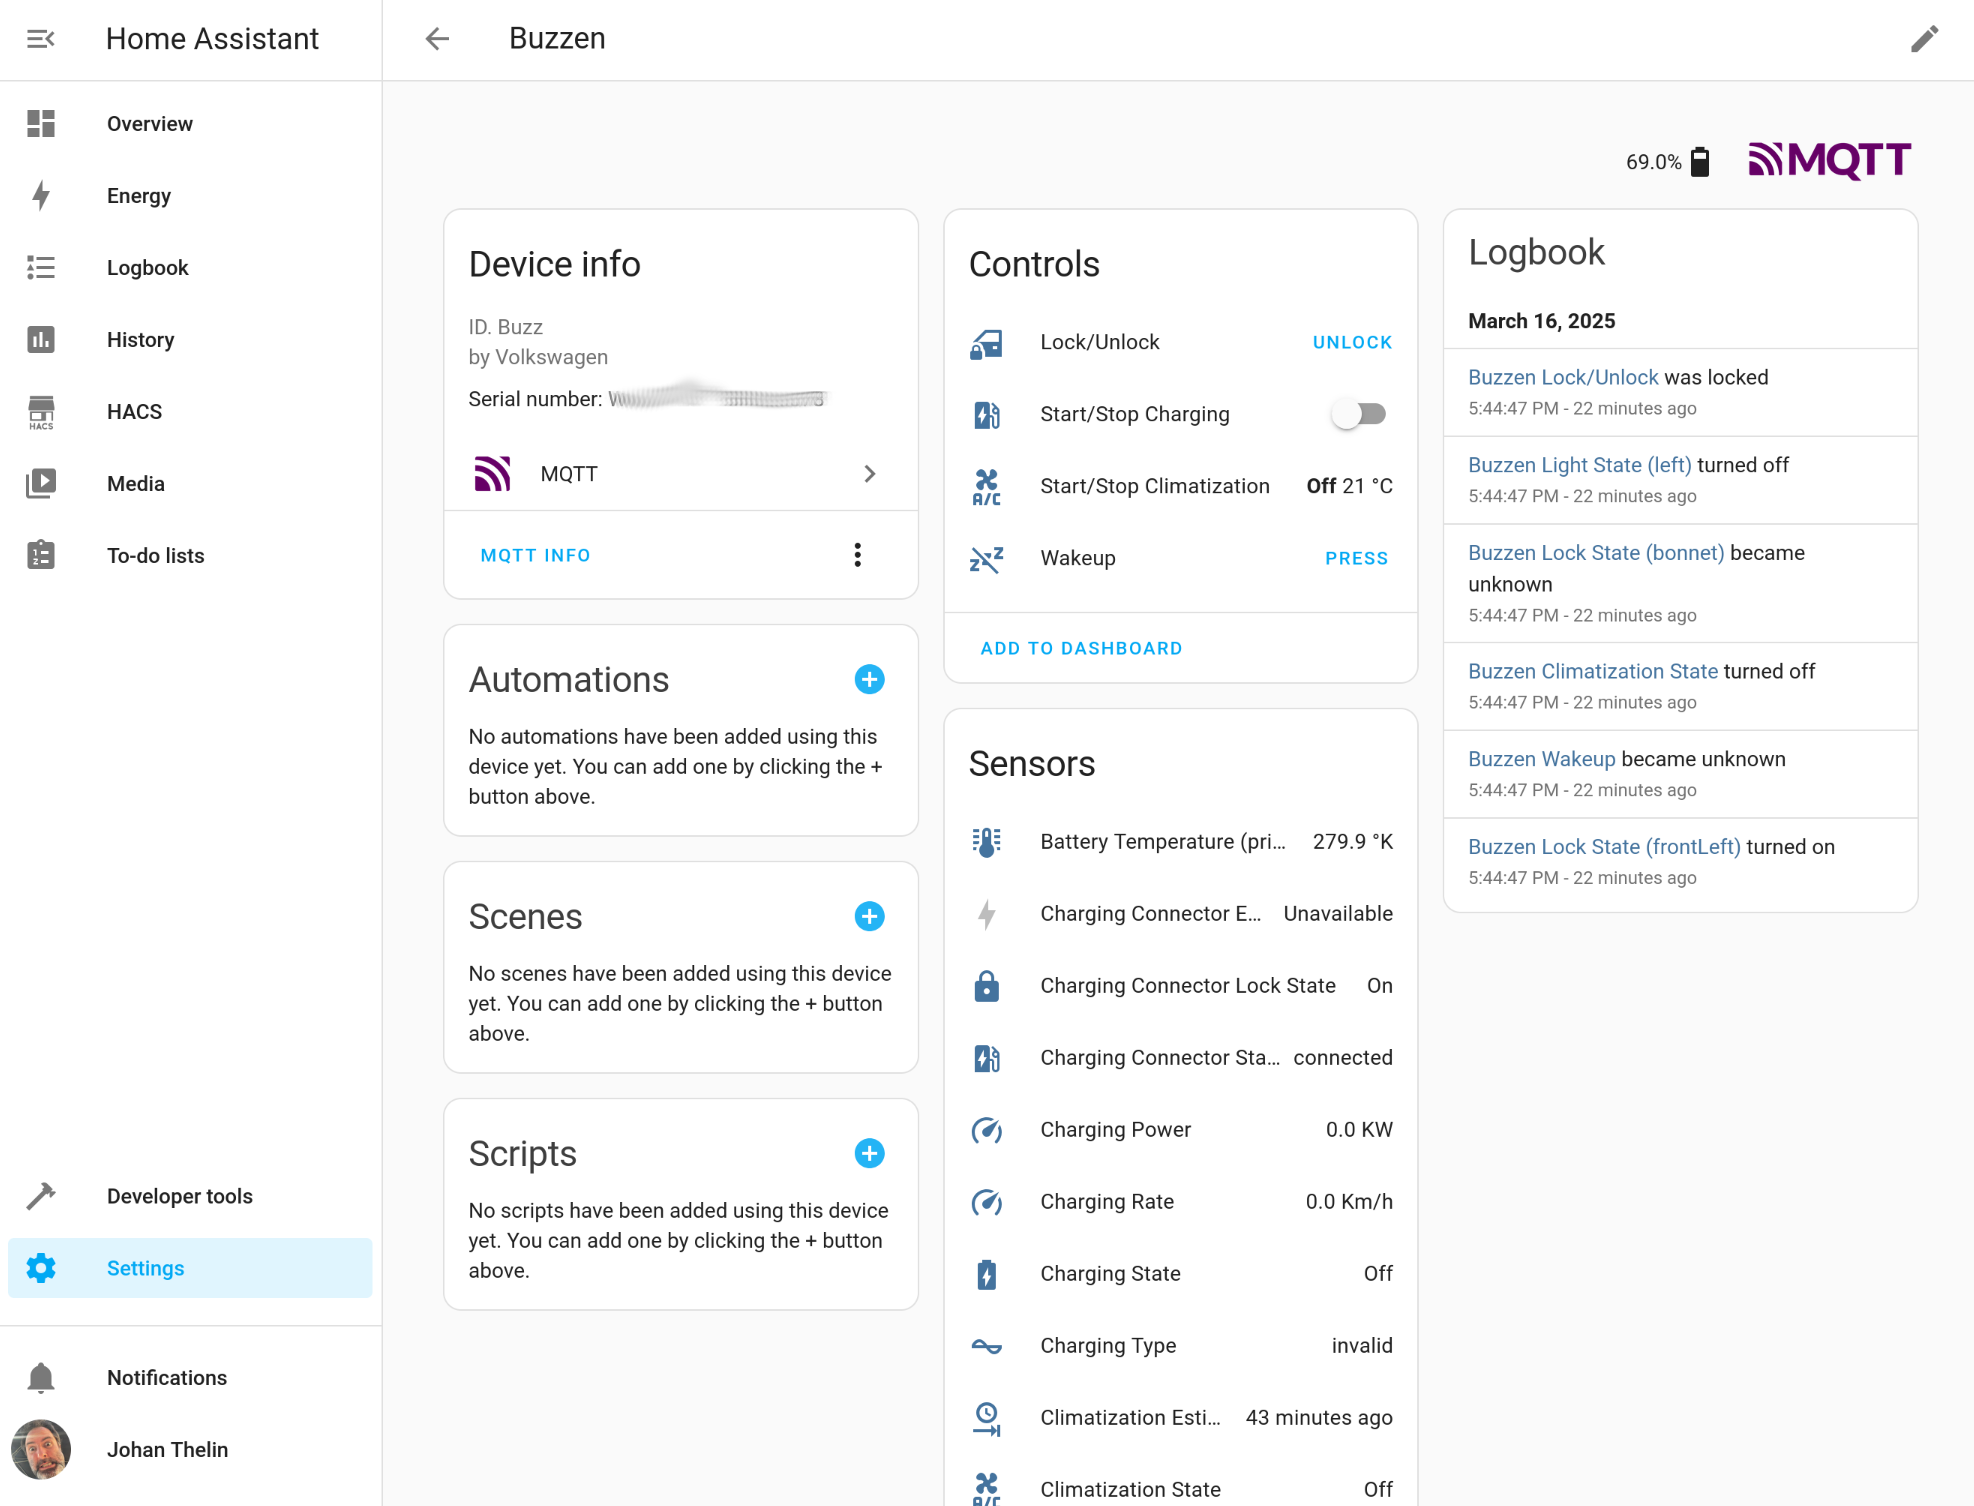
And, viola, the car shows up as a device in Home Assistant. Magic!
Migrating Databases

Last week I decided to clean up a bit of digital cruft. That is, I moved a few of my websites onto a single VPS, saving quite a bit of monthly server hosting costs.

What I did was that I moved VPSes from Linode (Akamai) to DigitalOcean, but also migrated a full web hotel from One to DigitalOcean (converting email accounts to email forwards).

As this is something that I do very rarely, I decided to document the process here so that I don’t have to look everything up again next time around.

The grunt work was about migrating a number of L*MP services to a LEMP server. There are a couple of tasks involved here, mainly migration of databases and getting WordPress running in a subdirectory using Nginx. The rest of the exercise had to do with the moving of nameservers and waiting for DNS propagation to get certbot to provide certificates for the new location.

Migration of MySQL databases

The migration of a database between machines can be broken down into three stages:

  1. Dumping the old database
  2. Creating a new database and user
  3. Sourcing the database contents into the new database

I choose to do it in these three stages, as I’d like to keep the old database dump as an additional backup. The other option would be to transfer the database contents in a single step, merging steps 1 and 3 into one

Nevertheless, I use mysqldump to dump the database contents, and then bzip2 to reduce the size of the dump. This is efficient since and SQL dump is quite verbose.

mysqldump -u username -p --databases databasename | grep -vE \"^(USE|CREATE DATABASE)\" | bzip2 -c - > dumpname.sql.bz2

This is derived from the answer by Anuboiz over at stack overflow. The resulting file is then transferred to the new server using scp together with the actual website.

The next step is to create a new database and a new database user. Here, I assume MariaDB (using the mysql commands), as my main target is WordPress. For other database engines, e.g. Postgresql, please check the docs for exact grammar, but the SQL commands should be very similar.

sudo mysql
mysql> CREATE DATABASE databasename;
mysql> USE databasename;
mysql> CREATE USER 'username'@'localhost' identified by 'password';
mysql> GRANT CREATE, ALTER, DROP, INSERT, UPDATE, DELETE, SELECT, REFERENCES, RELOAD on databasename.* TO 'username'@'localhost' WITH GRANT OPTION;
mysql> EXIT

Check out this digital ocean tutorial for details on the above commands.

The next step is to read the database contents into the new database. For this, we need to unzip the sql dump, e.g. bunzip2 dumpname.sql.bz2, which will result in a file called dumpname.sql. Please notice that bunzip2 unzips the file and removes the original, zipped, file. If you want to keep the original, use the -k option.

Once you have the dumpname.sql file available, you can read it into the database with the newly created user using the source command as shown below.

mysql -u username -p
enter the password here
mysql> USE databasename;
mysql> SOURCE dumpname.sql;
mysql> EXIT

Now you should have a new database with the old database contents on the new server, with an associated database user. For WordPress sites, make sure that you reflect any changes in the associated wp-config.php file.

WordPress in a subdirectory using Nginx

The other piece of the puzzle that was new to me was to run WordPress from a subdirectory, e.g. example.com/blog/, rather than from the root level, e.g. example.com/.

Removing most of the nginx server configuration, the following parts does the magic:

server {
        root /var/www/thelins.se;
        index index.php index.html;

        server_name thelins.se www.thelins.se;

...

# For root
        location / {
                try_files $uri $uri/ /index.php?$args;
        }

# For subdirectory
        location /johan/blog/ {
                try_files $uri $uri/ /johan/blog/index.php?$args;
        }

        location ~ \.php$ {
                fastcgi_split_path_info ^(.+\.php)(/.+)$;
                fastcgi_pass unix:/run/php/php7.4-fpm.sock;
                fastcgi_index index.php;
                include fastcgi.conf;
        }

...
}

The trick was to ensure that the subdirectory try_files statement refer to the correct index.php. Notice that this has to be done for each WordPress instance, if you happen to have multiple WordPress installations in various subdirectories on the same domain.

Conclusions

Its a bit of hassle to migrate a lot of web sites at once, but the monetary saving from moving the low traffic sites onto a single VPS, and the simplification of the management and monitoring by moving all VPSes to a single provider makes it worth it.