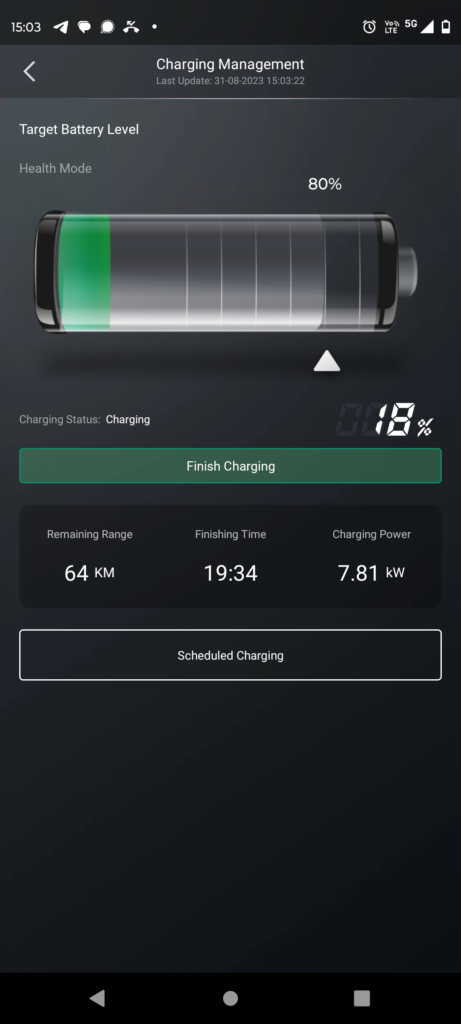
CarConnectivity and the ID.Buzz

I just got myself a brand new car: an ID.Buzz with seven seats so that I can fit the whole family at once. I’m very happy with the car this far, but since it has connectivity, I want to see if I can integrate it into HomeAssistant.

To do this, I wanted to use the CarConnectivity project by Till Steinbach. It is a Python package that comes in a few parts. The main project, a Volkswagen connector, an MQTT bridge and a HomeAssistant MQTT discovery helper.

Having played with the software for a bit (and reported a bug that Till fixed asap – I’m impressed!) I decided to setup the whole thing on my little RaspberryPi that runs a few little services I use around the house.

Preparing this, I setup a new user and installed the software in a Python virtual environment:

sudo adduser carconnectivity
sudo su carconnectivity
cd
mkdir carconnectivity
cd carconnectivity/
python -m venv venv
source venv/bin/activate
pip install carconnectivity-connector-volkswagen==0.5a1 carconnectivity-plugin-mqtt carconnectivity-plugin-mqtt_homeassistant
vim carconnectivity.json

Using the vim command, I created the CarConnectivity configuration file. Update usernames, passwords and IPs to your needs. I will experiment with the interval parameter, as I don’t want to discharge the 12v battery by querying the car too much.

{
        "carConnectivity": {
                "log_level": "error",
                "connectors": [
                        {
                                "type": "volkswagen",
                                "config": {
                                        "interval": 1800,
                                        "username": "hello@example.com",
                                        "password": "secret"
                                }
                        }
                ],
                "plugins": [
                        {
                                "type": "mqtt",
                                "config": {
                                        "broker": "my-mqtt.local",
                                        "username": "user",
                                        "password": "secret"
                                }
                        },
                        {
                                "type": "mqtt_homeassistant",
                                "config": {}
                        }
                ]
        }
}

Having configured the service (and having run it manually to fix my mistakes) I created the carconnectivity.service systemd service shown below (in /etc/systemd/system):

[Unit]
Description=Car Connectivity to MQTT
After=network-online.target

[Service]
Type=simple
User=carconnectivity
Group=carconnectivity
WorkingDirectory=/home/carconnectivity/carconnectivity/
Environment="LC_ALL=sv_SE"
ExecStart=/home/carconnectivity/carconnectivity/venv/bin/carconnectivity-mqtt /home/carconnectivity/carconnectivity/carconnectivity.json

[Install]
WantedBy=multi-user.target

And then I started and enabled the service.

sudo systemctl start carconnectivity
sudo systemctl enable carconnectivity

Finally, I had a look at the status and made sure that everything looks ok.

sudo systemctl status carconnectivity

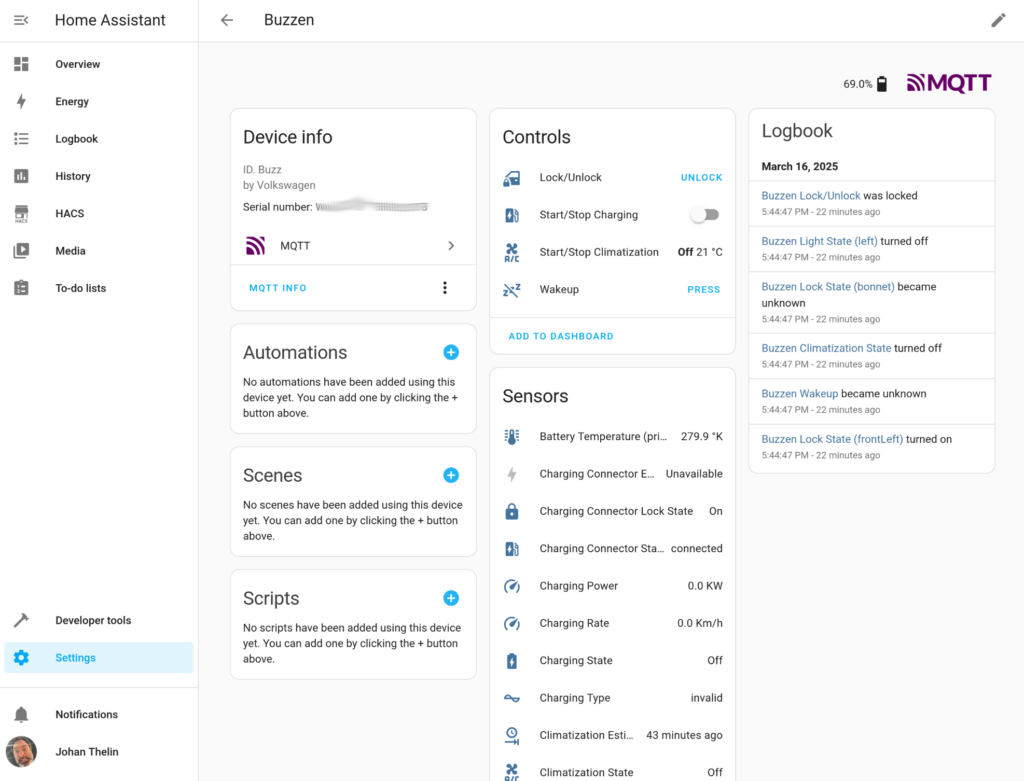
And, viola, the car shows up as a device in Home Assistant. Magic!
Migrating Databases

Last week I decided to clean up a bit of digital cruft. That is, I moved a few of my websites onto a single VPS, saving quite a bit of monthly server hosting costs.

What I did was that I moved VPSes from Linode (Akamai) to DigitalOcean, but also migrated a full web hotel from One to DigitalOcean (converting email accounts to email forwards).

As this is something that I do very rarely, I decided to document the process here so that I don’t have to look everything up again next time around.

The grunt work was about migrating a number of L*MP services to a LEMP server. There are a couple of tasks involved here, mainly migration of databases and getting WordPress running in a subdirectory using Nginx. The rest of the exercise had to do with the moving of nameservers and waiting for DNS propagation to get certbot to provide certificates for the new location.

Migration of MySQL databases

The migration of a database between machines can be broken down into three stages:

  1. Dumping the old database
  2. Creating a new database and user
  3. Sourcing the database contents into the new database

I choose to do it in these three stages, as I’d like to keep the old database dump as an additional backup. The other option would be to transfer the database contents in a single step, merging steps 1 and 3 into one

Nevertheless, I use mysqldump to dump the database contents, and then bzip2 to reduce the size of the dump. This is efficient since and SQL dump is quite verbose.

mysqldump -u username -p --databases databasename | grep -vE \"^(USE|CREATE DATABASE)\" | bzip2 -c - > dumpname.sql.bz2

This is derived from the answer by Anuboiz over at stack overflow. The resulting file is then transferred to the new server using scp together with the actual website.

The next step is to create a new database and a new database user. Here, I assume MariaDB (using the mysql commands), as my main target is WordPress. For other database engines, e.g. Postgresql, please check the docs for exact grammar, but the SQL commands should be very similar.

sudo mysql
mysql> CREATE DATABASE databasename;
mysql> USE databasename;
mysql> CREATE USER 'username'@'localhost' identified by 'password';
mysql> GRANT CREATE, ALTER, DROP, INSERT, UPDATE, DELETE, SELECT, REFERENCES, RELOAD on databasename.* TO 'username'@'localhost' WITH GRANT OPTION;
mysql> EXIT

Check out this digital ocean tutorial for details on the above commands.

The next step is to read the database contents into the new database. For this, we need to unzip the sql dump, e.g. bunzip2 dumpname.sql.bz2, which will result in a file called dumpname.sql. Please notice that bunzip2 unzips the file and removes the original, zipped, file. If you want to keep the original, use the -k option.

Once you have the dumpname.sql file available, you can read it into the database with the newly created user using the source command as shown below.

mysql -u username -p
enter the password here
mysql> USE databasename;
mysql> SOURCE dumpname.sql;
mysql> EXIT

Now you should have a new database with the old database contents on the new server, with an associated database user. For WordPress sites, make sure that you reflect any changes in the associated wp-config.php file.

WordPress in a subdirectory using Nginx

The other piece of the puzzle that was new to me was to run WordPress from a subdirectory, e.g. example.com/blog/, rather than from the root level, e.g. example.com/.

Removing most of the nginx server configuration, the following parts does the magic:

server {
        root /var/www/thelins.se;
        index index.php index.html;

        server_name thelins.se www.thelins.se;

...

# For root
        location / {
                try_files $uri $uri/ /index.php?$args;
        }

# For subdirectory
        location /johan/blog/ {
                try_files $uri $uri/ /johan/blog/index.php?$args;
        }

        location ~ \.php$ {
                fastcgi_split_path_info ^(.+\.php)(/.+)$;
                fastcgi_pass unix:/run/php/php7.4-fpm.sock;
                fastcgi_index index.php;
                include fastcgi.conf;
        }

...
}

The trick was to ensure that the subdirectory try_files statement refer to the correct index.php. Notice that this has to be done for each WordPress instance, if you happen to have multiple WordPress installations in various subdirectories on the same domain.

Conclusions

Its a bit of hassle to migrate a lot of web sites at once, but the monetary saving from moving the low traffic sites onto a single VPS, and the simplification of the management and monitoring by moving all VPSes to a single provider makes it worth it.

Learning a language

Learning a language is, to me, about grinding. Continously exposing yourself.

Ich lerne Deutsch. Oder, ich versuche Deutsch zu lernen. 😉

I try to expose my self to the language via YouTube (thx Nils for the tip about 7 gegen Wild), but also news papers and just chatting with people. I’d say the biggest hurdle is that people find English easier than having me try to find and reorder the words, so practice at full speed is hard to find.

I guess I do the same for people trying to learn Swedish, and i really shouldn’t.

If you have tips for how to expose myself more to German – spoken or written – please drop a comment here or join the conversation at mastodon.

Creating Apples

Time for another weekend post in the 100 days to offload effort.

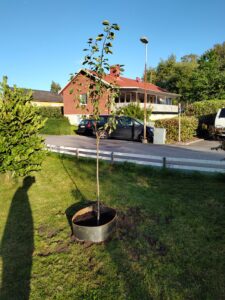
A couple of years ago I had an excavator dig up parts of the garden to make room for a new deck. Apparently it took out a bit too much of the roots of my daughters favourite apple tree – the Transparent Blanche. So, yesterday evening we finally got a new one and planted it.

The 11yrs old found couple of red bricks (I guess they come from the the construction of the neighbours’ house across the street) so he is now turning into a fully fledged archaeologist looking for artefacts from as far back as the 1960s :^)

Sick kids

Who would had thought that having a child with a cold at home would affect my blogging cadence this badly. This week is going to be a short list of links, that’s it:

  • Paul Bourke, a wonderful website with collections of fractals, algebra for geometry, useful and just plain strange transformations, and much much more. Perfect for a lazy day of browsing.
  • fedi.directory, a directory of interesting people and accounts to follow on the fediverse.
  • nordiska akvarellmuseet, the nordic watercolour museum, located just by the sea. Usually has nice, but smallish, exhibitions. Recommended.
  • Lights in Alingsås, visit my home town for the annual lights festival. This year will be the 25th edition. If you like running, make sure to participate in Running Lights. It is a flat and fast track, so a good opportunity to set a new PB on 5km or 10km.

Growing Lemons

I’ve extended the house with a large glassed area. We call it the orangeri, which is a lie, since what grows there are lemons. So how do you grow lemons in Sweden?

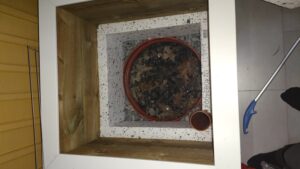
First of all, you have a hole straight through the construction of your house all the way down to the soil underneath.

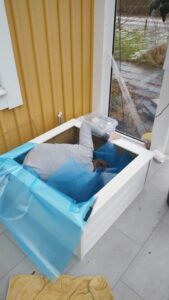
Then you send a child down the hole to clean out any left over gravel and stuff from the construction to get a good connection with the soil you pour in from the top. Also, add double layers of plastic to avoid getting the house wet.

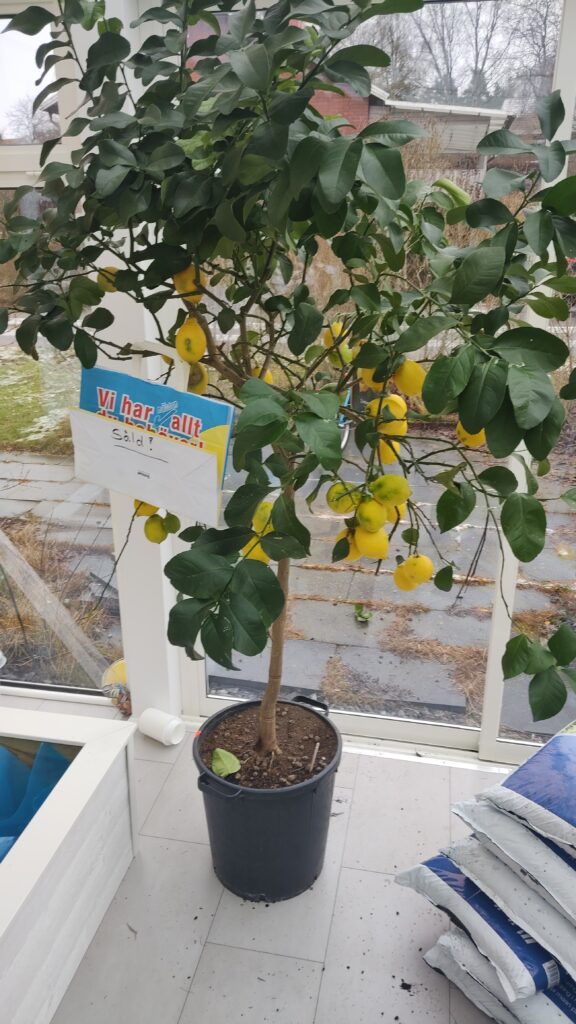
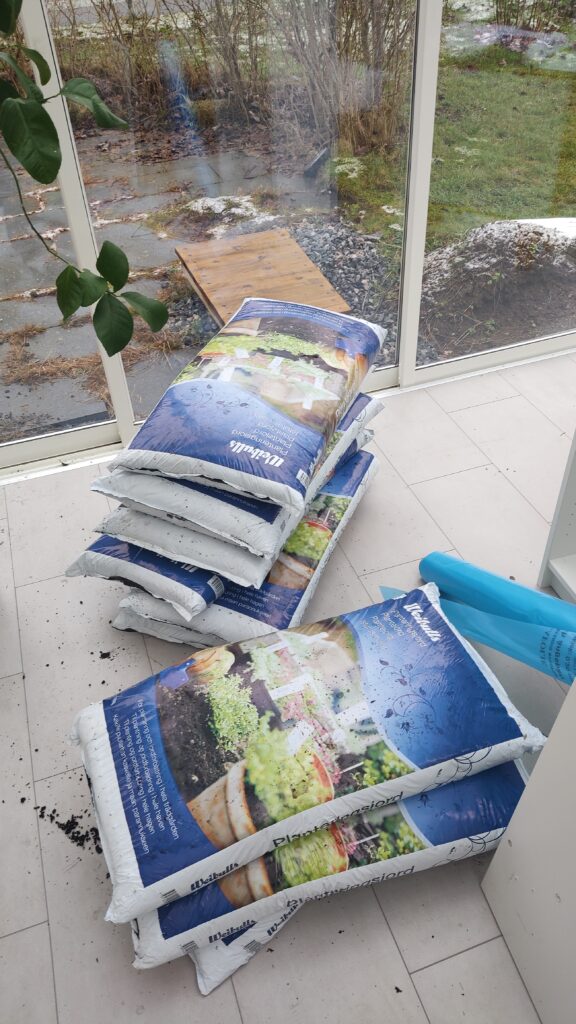
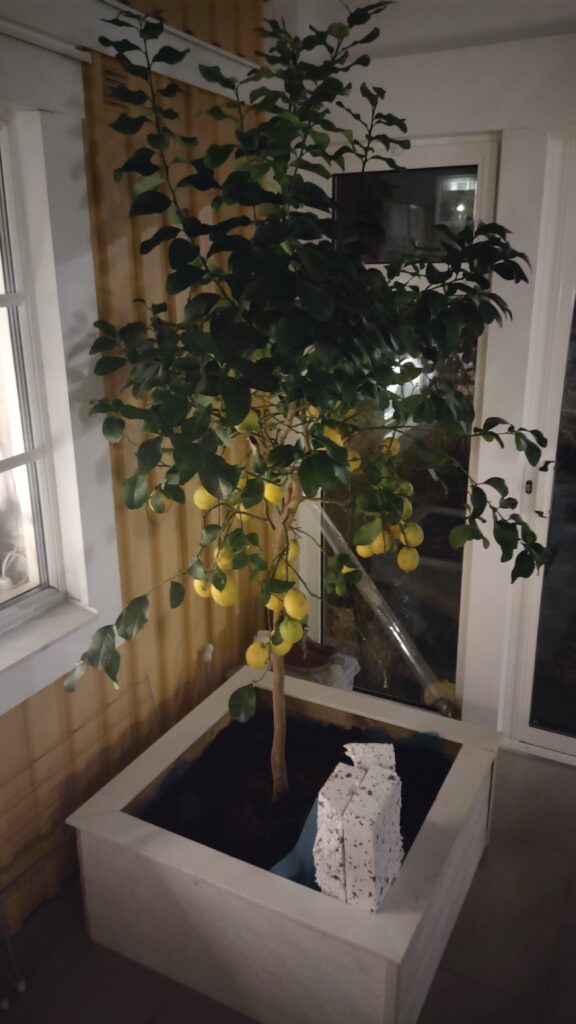
Then you take a tree, and way too many bags of soil and assemble it into the gigantic pot you’ve just constructed.

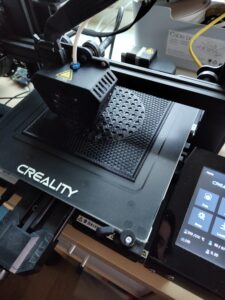
You might notice the pile of styrofoam to the right. There is a vent there which needs a cover. Good thing I have a 3D printer. Designed using FreeCAD.

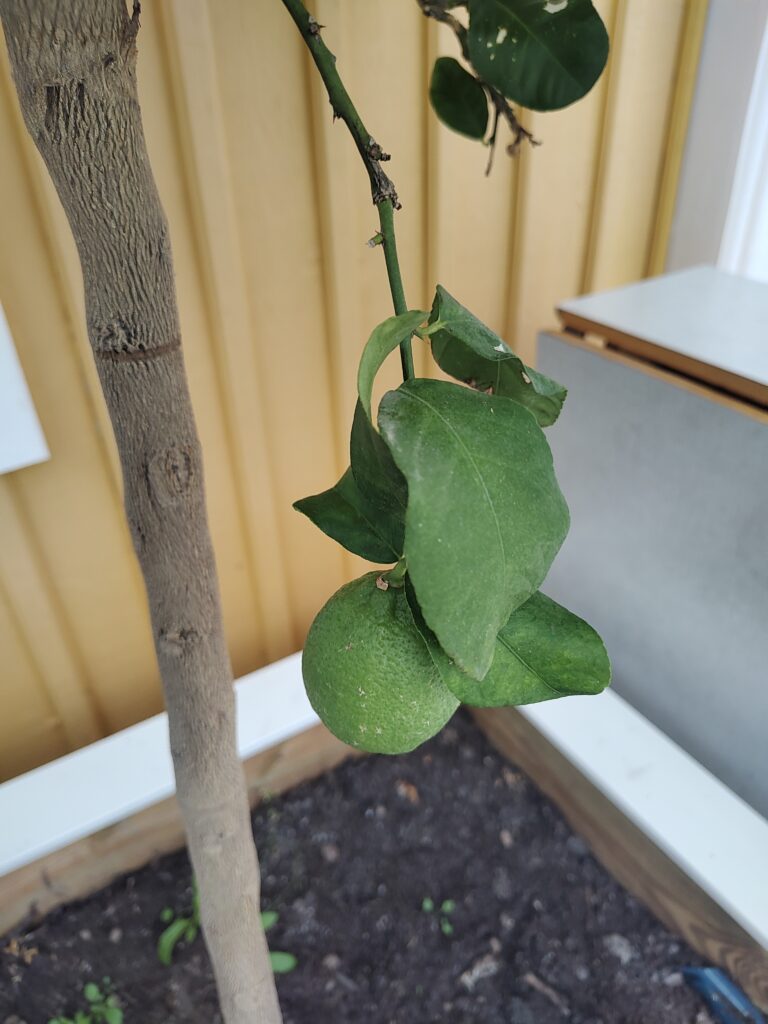
The tree came with a lot of lemons, so last spring consisted of lemon icecream, lemon drinks, lemon cakes, and various dishes requiring lemon (schnitzel – yay!). But how has it fared in my care? Apparently not too bad. It is taller and wider, and it carries a whole bunch of lemons in the making.

And yesterday I finally picked the first lemon of my making. I almost feel like a parent. I pollinated the flowers with a small brush, I watered the tree, and now I can enjoy the fruits. I just need a few more to be able to do a batch of icecream.

Home Charging

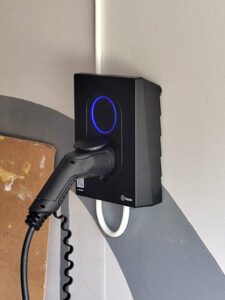
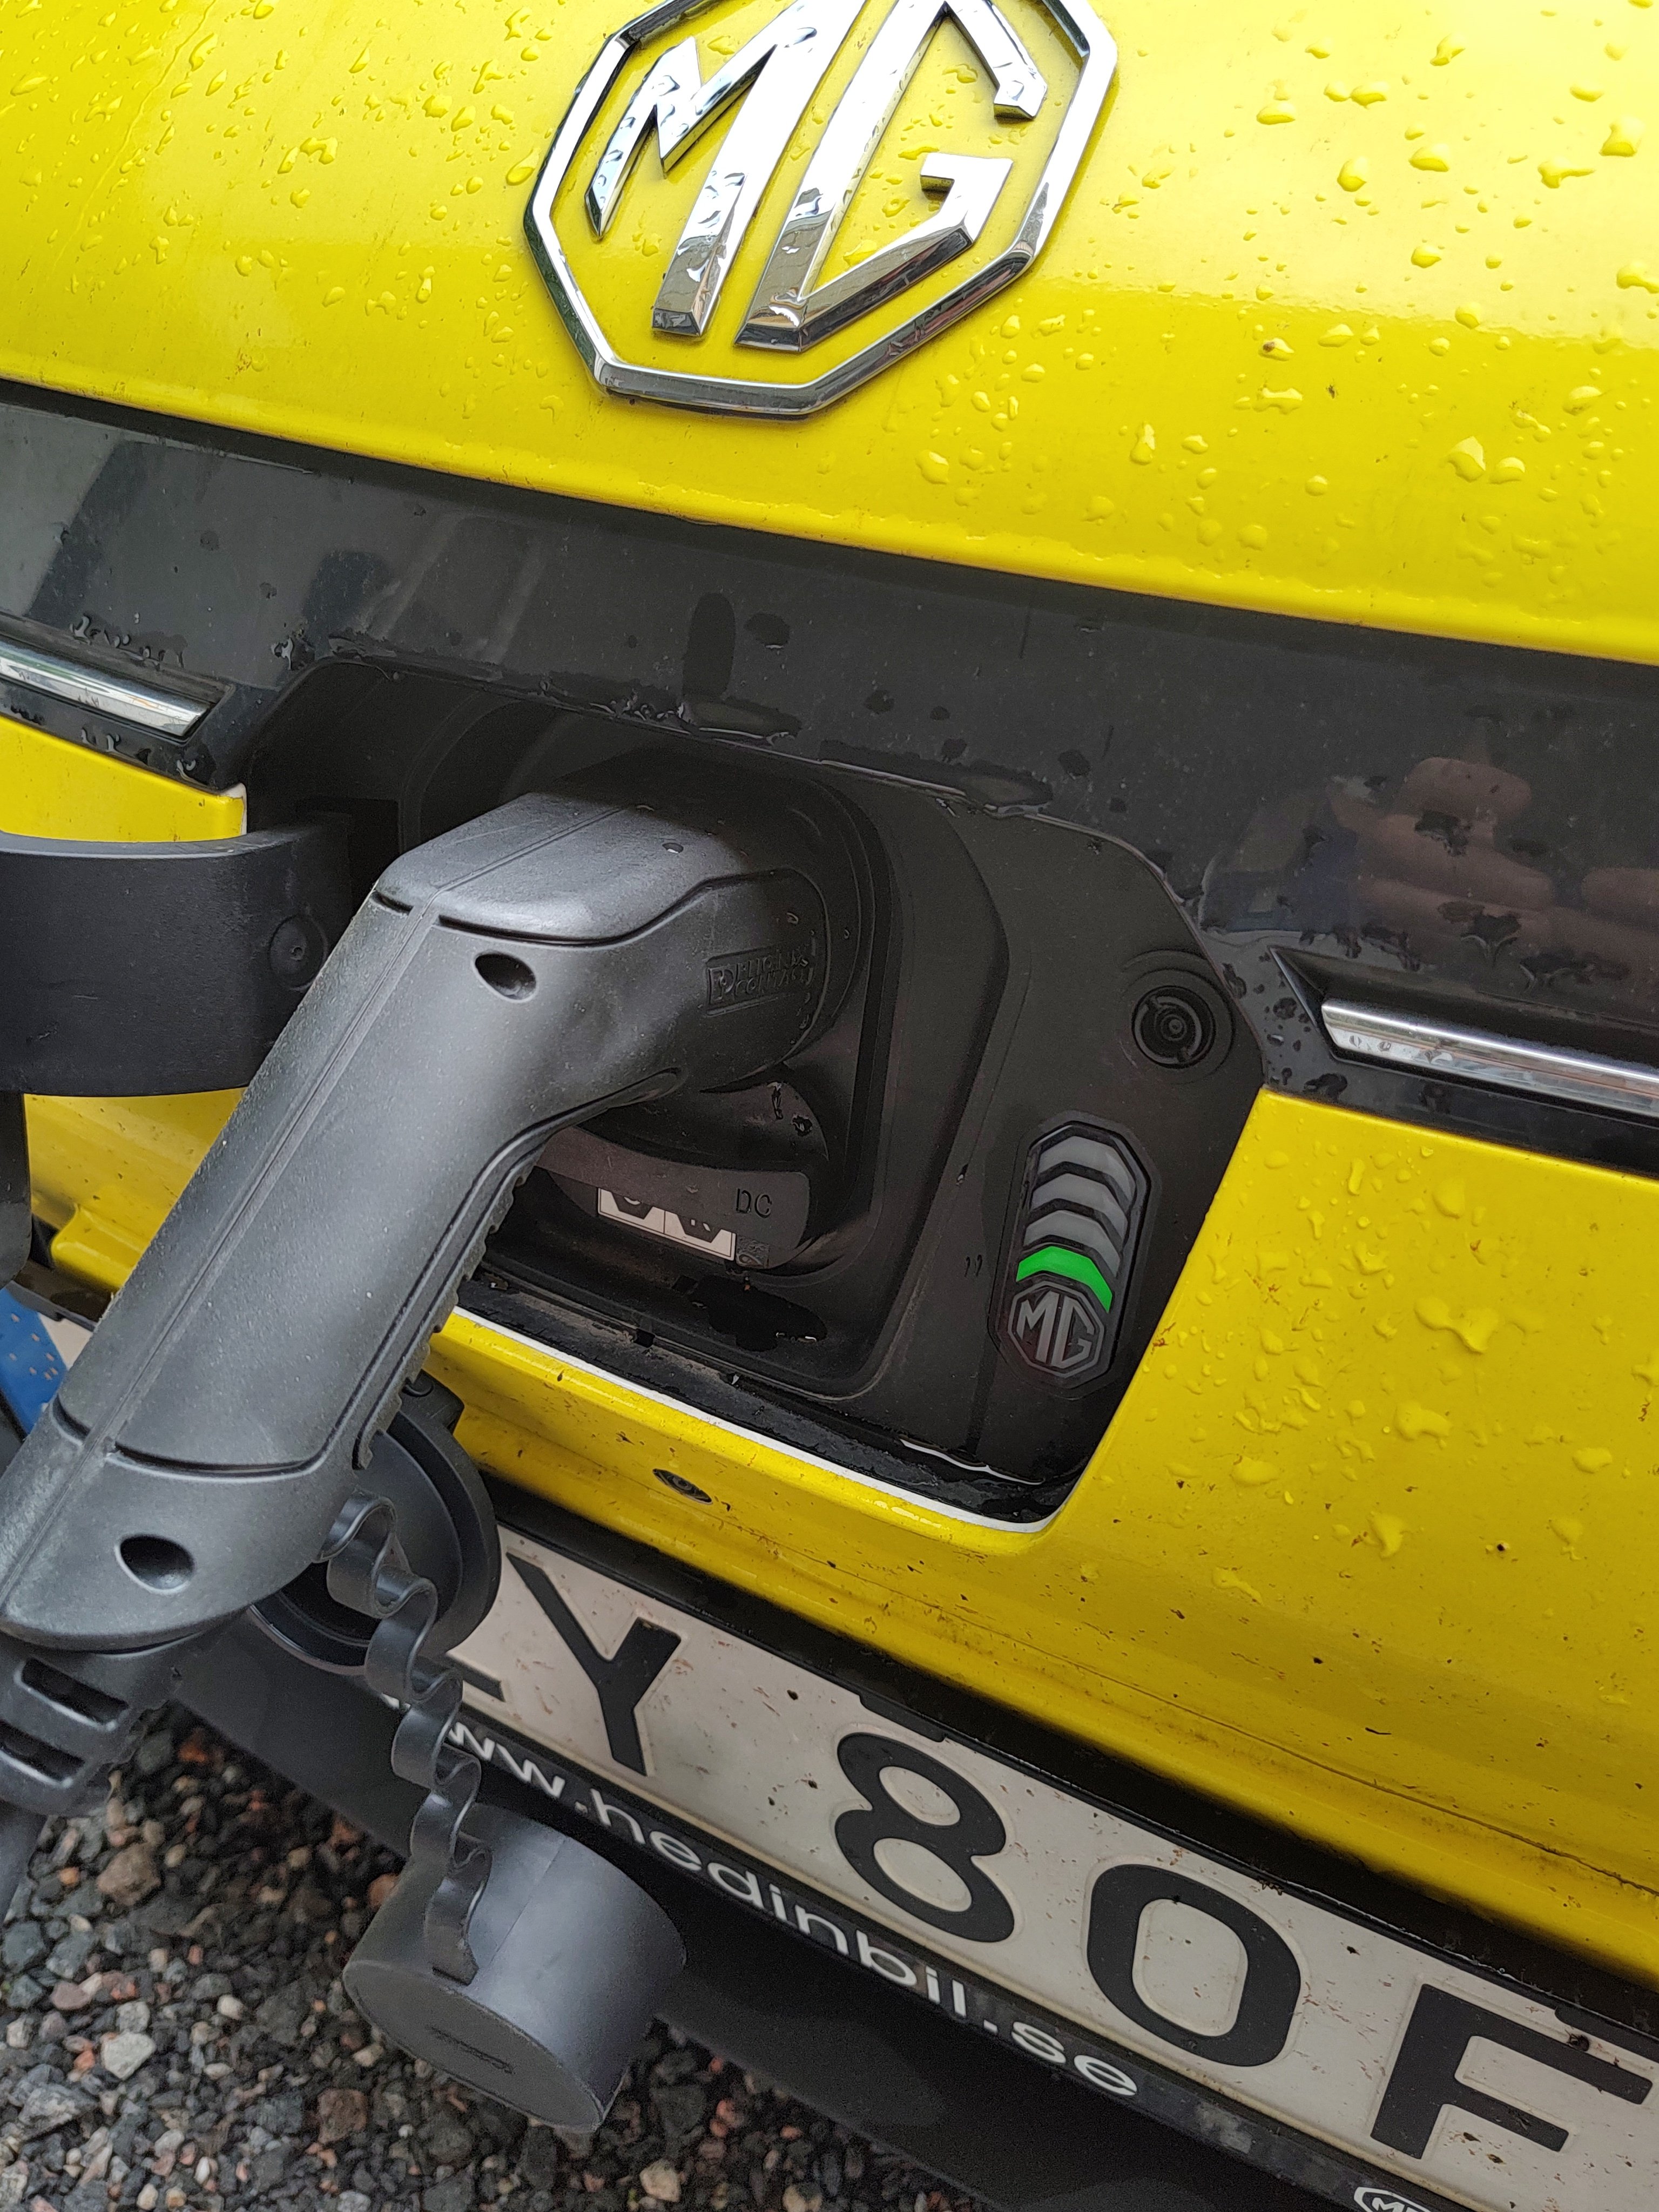
I recently wrote about my experiences in driving a fully electric car. Today, the electrician dropped by and installed a charging box in my garage. Finally I can do 11kW charging from home, at the lowest possible price.

The box was installed super late as the eesee box that I initially ordered was banned from selling in Sweden this spring, so now I’m trying Zaptech. I guess the next step is to install it in home assistant and see where it gets me!