Adventures in (Dyn)DNS

So, I made the silly move to rely on my hardware supplier to provide me with a dynamic DNS service. Naturally, this offer expired, and I could no longer reach my home server. Because of Murphy, this naturally took place when I was away from home with no access to anything.

So – how does one find the way back home?

Luckily, I have a VPS that I log in to now and then. After a quick duck-ing (duckduckgo is my friend), I found the last command which was the first piece of the puzzle. Now I had a list of potential IPs.

Did I mention that I travel a lot?

There were quite a few IPs there. Pre-COVID-19, it would have been worse. Still, I found a few likely candidates based on frequency of use. Then I found this handy list of IP blocks in Sweden. Now I could tell my mobile data provider (Telenor) from my fibre data provider (Bahnhof).

Quickly adding my home domain and the suspected IP to /etc/hosts on my laptop allowed me to confirm my suspicions. Once in, I could setup duckdns for dynamic DNS, change the CNAME record of my domain, and now all is operational again.

I learned two things from this:

  1. Don’t rely on the time limited offers of hardware vendors for even the most trivial service. They are all trying to convert you into a as-a-Service deal and make you pay an annual fee. (i.e. read the fine print).
  2. I was really happy to use a CNAME record to redirect a subdomain of mine to my home server, so even when using a dynamic DNS service, I could switch to another dynamic DNS service. (this was pure luck – no foresight from my side was involved).

Also, while on the the topics of experiences. If you have the possibility, you should use bahnhof as your ISP. They have a track record of opposing surveilance laws and work to protect the privacy of their customers. Also – I’ve had zero issues with them since switching some 15 years ago, so I can recommend them from that perspective as well ;-)
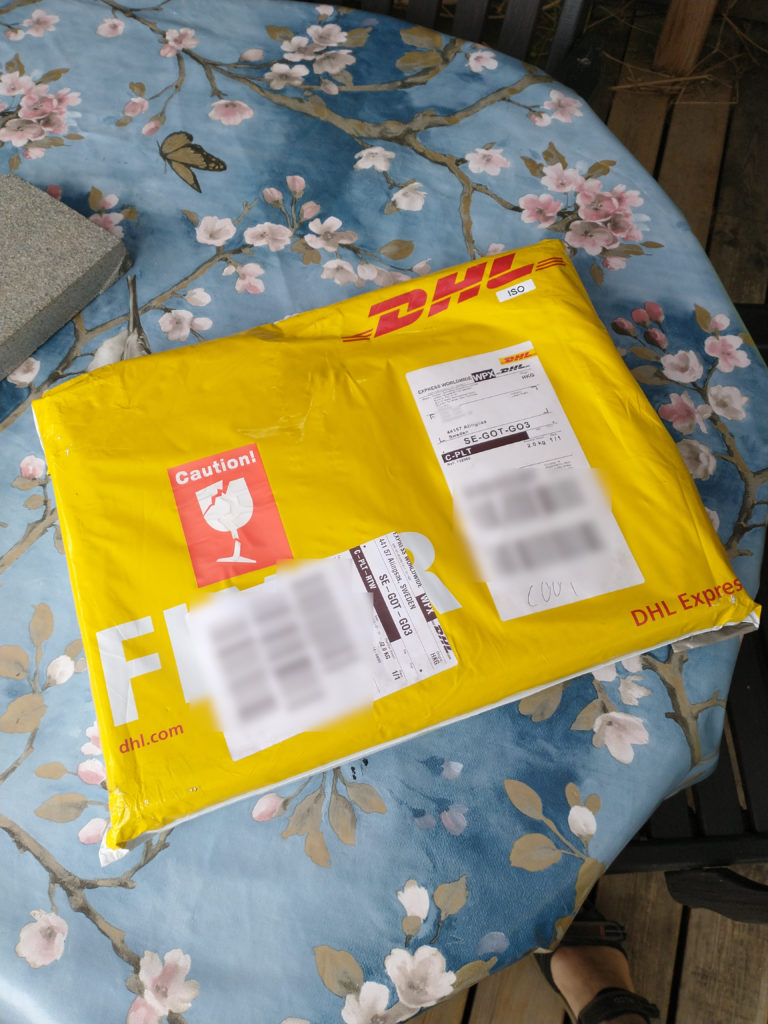
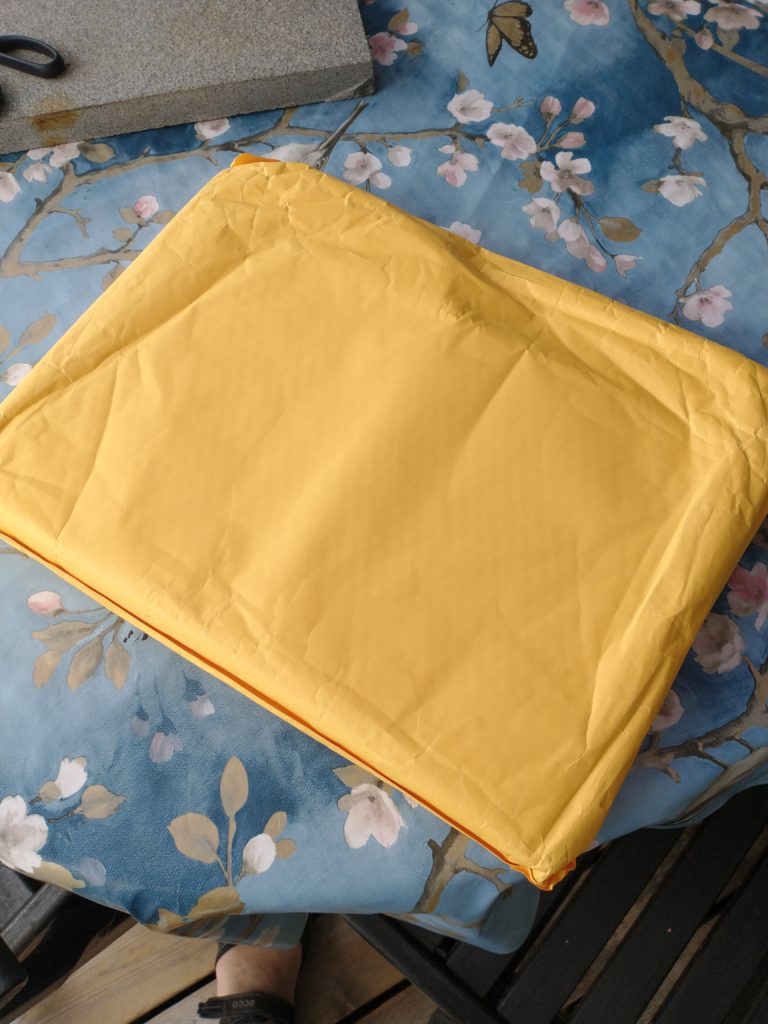
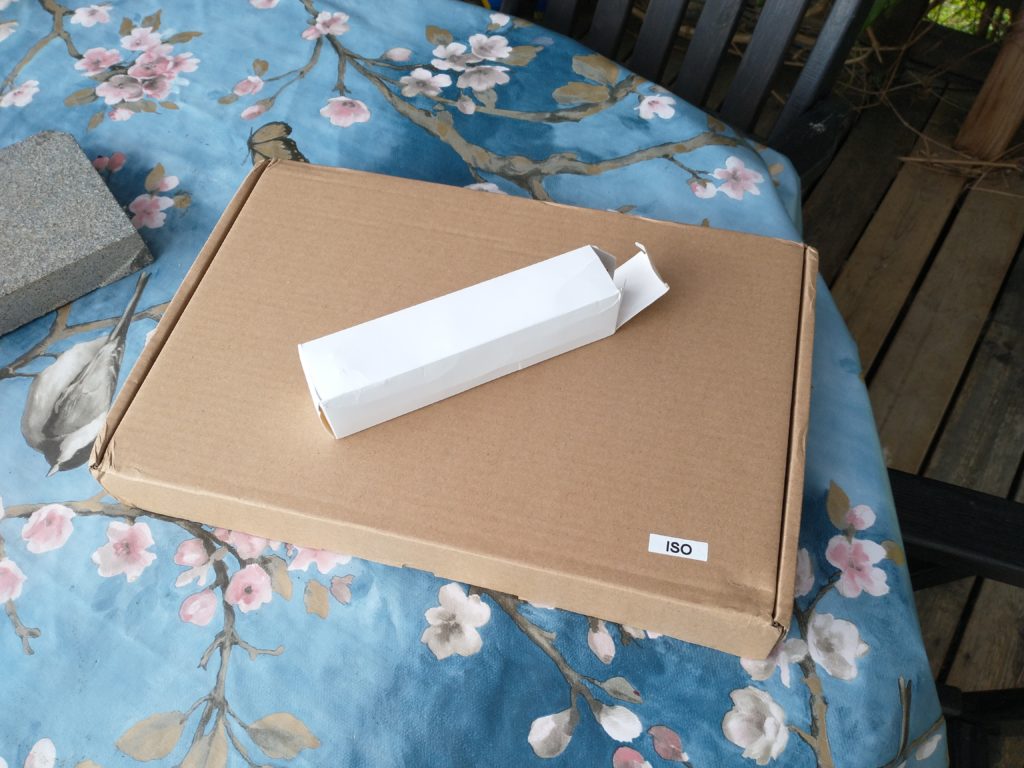
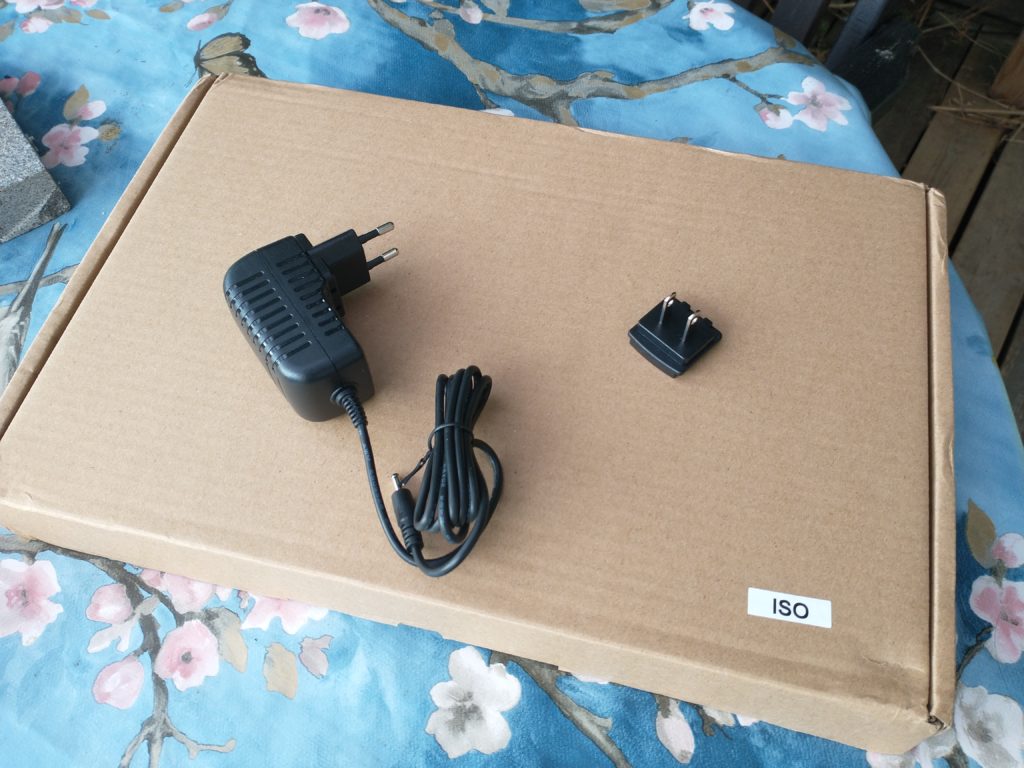
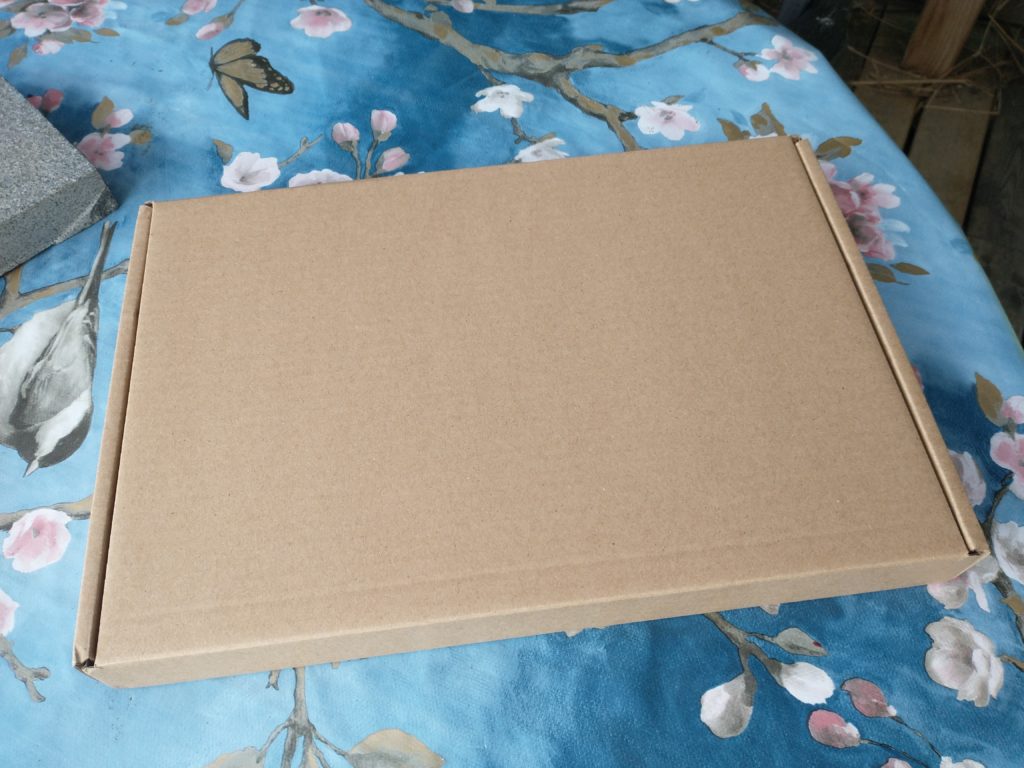
It finally arrived

After waiting a bit over a month, followed by an agonizing week when the new gizmo was at my DHL pickup point and I was some 2h by car away in our summer house.

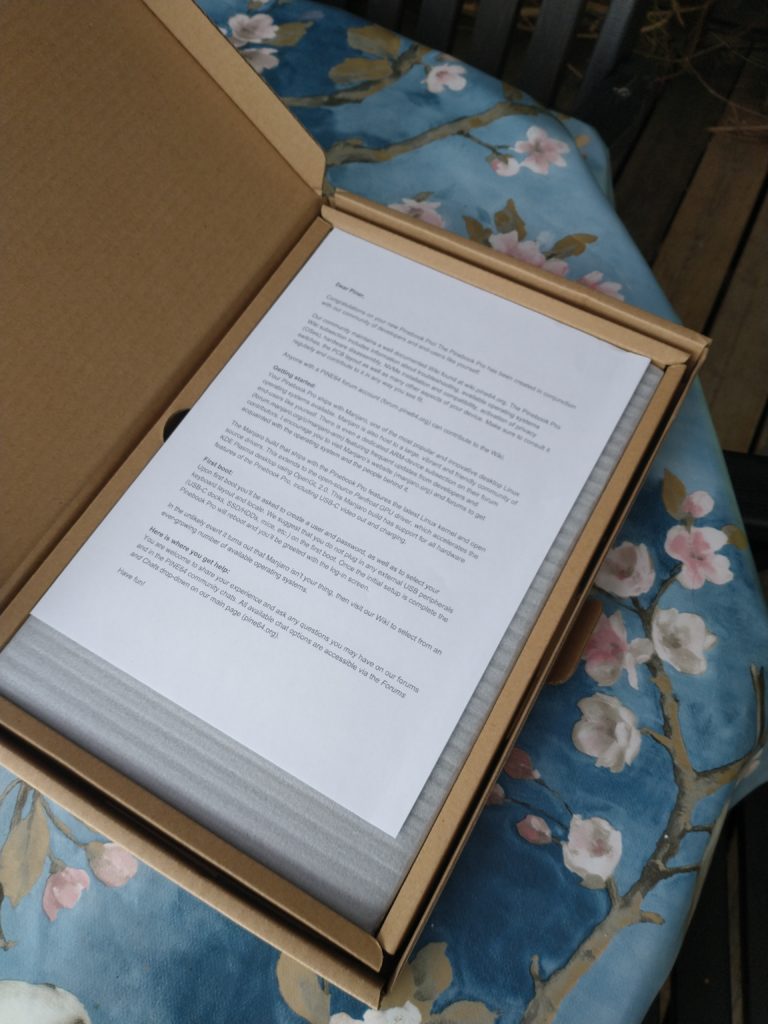
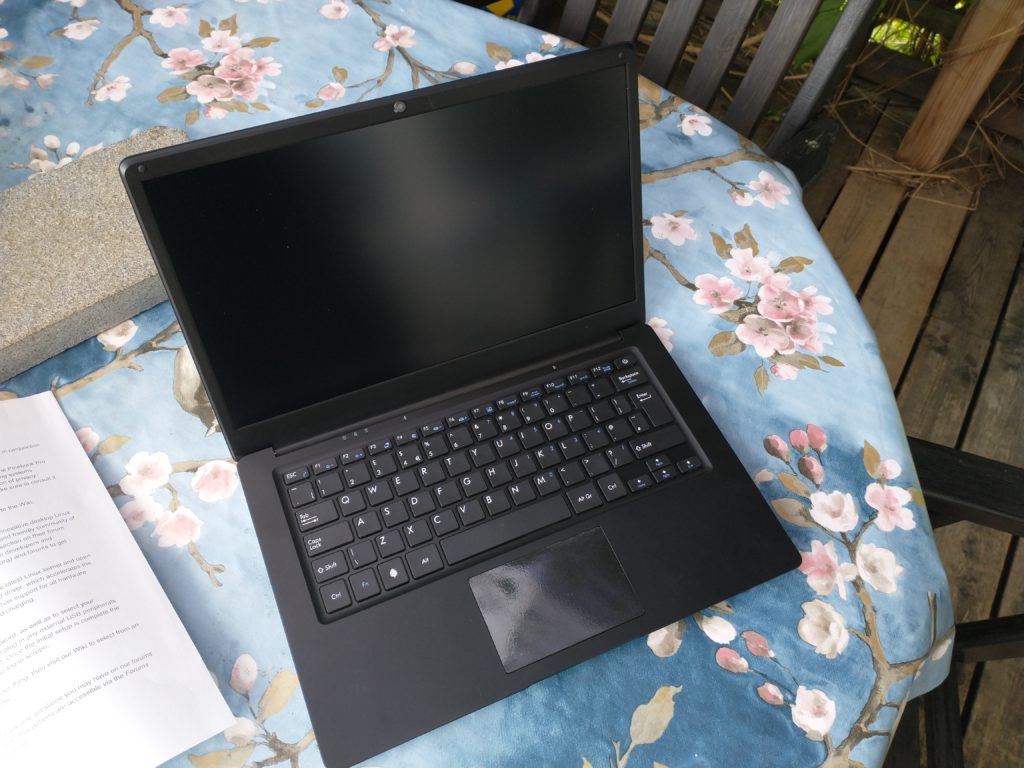
What gizmo? A Pinebook Pro!

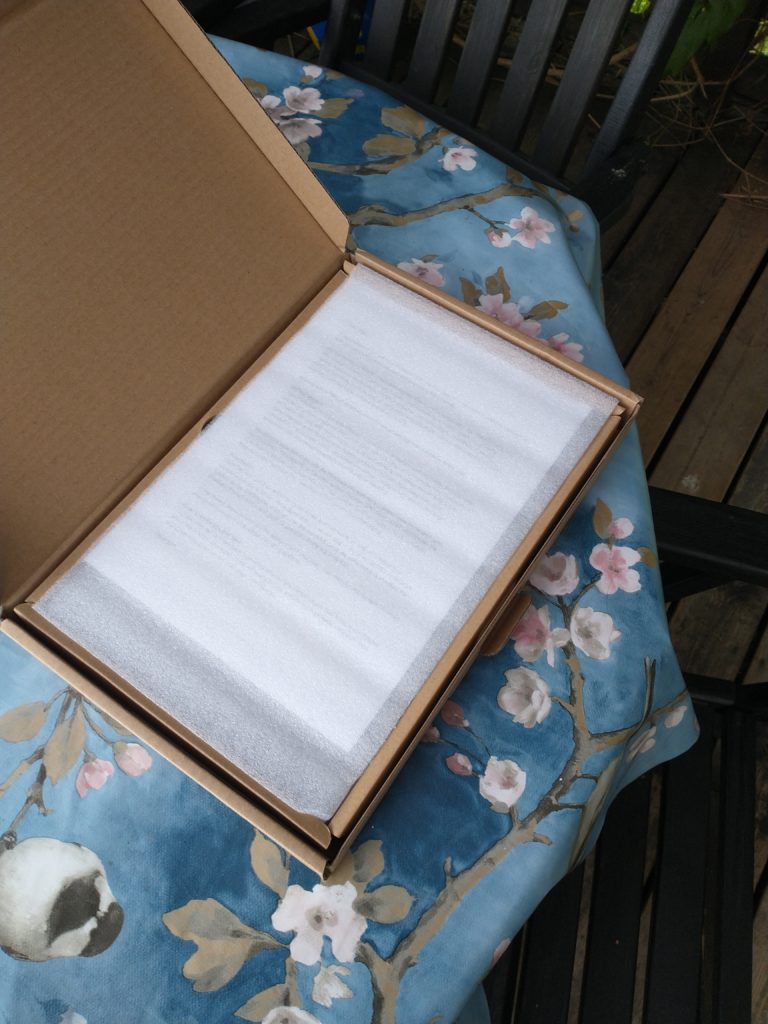
The Pinebook comes in many layers. Like, properly many. I guess this means that it is safe during transport. At least mine arrived without any bruising despite a long journey from Hongkong to Alingsås.

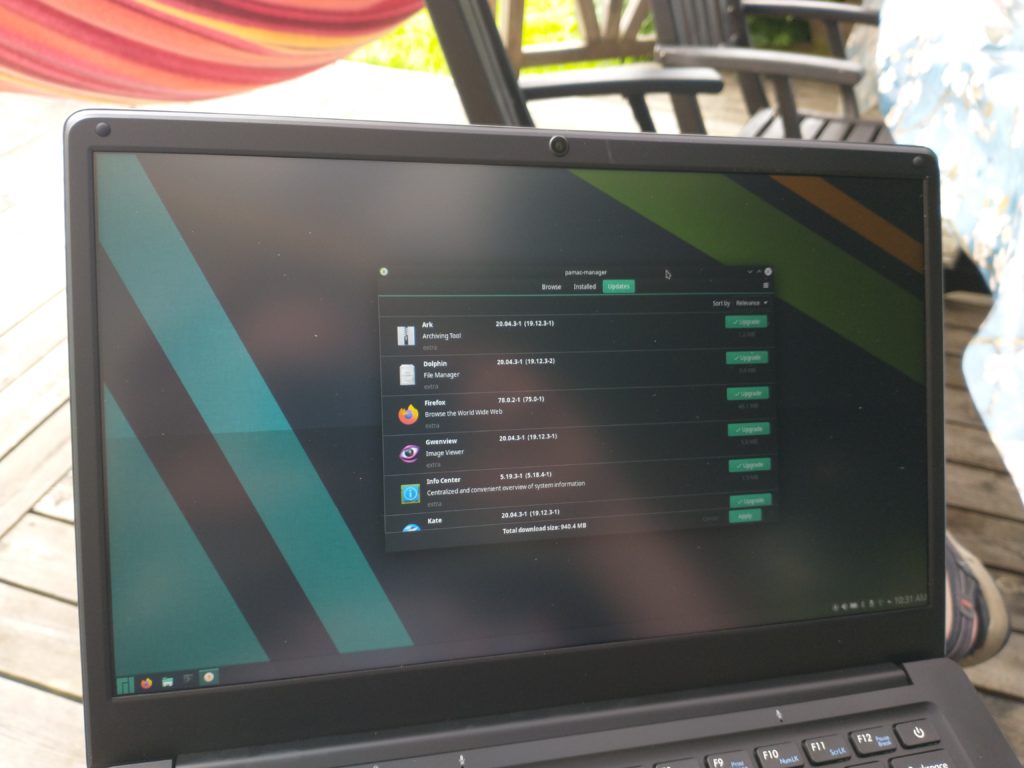
After powering the system on it took quite a long time for the system to reach the Manjaro logo, but once up and running, things move along at a decent pace.

Initial impressions are positive. I had to crank up the backlight a bit, but I’m sitting outdoors (it is overcast). Right now I’m installing the initial set of software updates (some 400+MB to download) while I type this. I also set the keyboard layout to Swedish. I have an ISO keyboard model, so all the keys are there and I don’t mind that the keycaps say something else than what they type.

On the topic of the keyboard. I was warned about the keyboard feel. I was also told that the Pro-model is better than the original Pinebook (which I’ve only used for ~5s at fosdem). To be honest, the keyboard is decent, but not on par with my Dell XPS13, nor my Sculpt Egonomic keyboard.

I still have the night time hacking test to perform – will my wife accept this keyboard clicking in the early morning hours? She preferred the MacBook Pro over the XPS13, so let’s see how this fares ;-).

I also have to see if I can adopt to Manjaro Linux, or if I’ll go to Debian, which I run on all my other machines. It has been years since I tried any alternative distro, so I’ll give it a few days at least to see how much I will miss apt-get – at least it runs KDE Plasma ;-)

foss-north kdenlive workflow

As some of you might already have noticed, we’ve complemented foss-north with a new pod / vod / vlog – I’m not sure what to call it. Basically, it is a video based pod cast (making it available as a audio only pod-cast is high on the todo). Our main focus right now is a series on licenses and copyright, but there is more to come.

As a part of this, I’ve started editing videos in kdenlive on a weekly basis, and I’m very happy with it so far.

In this blog, I want to share my workflow. It is probably far from ideal, but it does the work for me.

I usually start with a set of presentation slides that we’ve used to direct the discussions. These are exported as pdf, which is then converted to 1920×1080 pngs for consumtion in kdenlive.

I do this in two steps using ImageMagick, as the results seems nicer by first rendering too large images and scaling them down.

convert -verbose -density 300 ../open\ projects-1.pdf -quality 100 -sharpen 0x1.0 11.png

mogrify -resize 1920x1080 *.png

The session is recorded using OBS from our Jitsi instance, but we also encourage each participant to record their audio separately, as it makes it easier to fix things afterwards. (foss-north now self-hosts a Jitsi instance – check out https://github.com/e8johan/virtual-conf-resources to learn about how to setup virtual conferences).

You would be surprised over how many times we’ve run into issues with one or more sound recordings. We’ve had:

  • Too low volume (inaudible)
  • Too high gain (noisy)
  • Local echo of the rest of the participants in one recording (no use of headphones)
  • No recording (forgot to press record)

I’m sure the list will grow longer as we record more episodes :-)

Before I start cutting the recording, I use one of my favorite features in kdenlive. First I set the Jitsi recording as the audio reference as shown below.

Then for each audio track, I tell kdenlive to align it to the reference. This will position it correctly in relation to the Jitsi recording, meaning that I can fade in and out of individual recordings without having to worry about any time shifts.

Finally, I select all the audio recordings and group them. This means that all editing I do (cuts, movements, etc) is applied to all channels.

Now it is just a matter of listening for trouble (you can spot awkward silence in the visualization of the audio tracks), press i to mark the beginning of a section, press o to mark the end, and then shift+X to cut it out.

In general, I try to edit as little as possible, but tightening some parts by removing silence, and sometimes remove failed parts when we’ve decided to start over a section.

Finally I add the pngs as a video stream, our pre-recorded intro sequence, and a YouTube friendly end-screen and click render and go to bed :-)