I just got myself a 3D printer. It is my second one – I built a reprap back in 2013 – but this one is slightly more convenient to use. I went for the Creality CR6-SE. It works good enough for me out of the box, even though 3D printing is a topic where you can spend infinite time tweaking things.
I used to use OpenSCAD to create my models, as it maps well to my way of thinking (i.e. coding). However, I’ve decided to take some time to learn some new skills and this time around I went for FreeCAD.
FreeCAD is a free, as in freedom, parametric CAD program with a vibrant community. I’m new to CAD – parametric or not – so this is a learning experience for me.
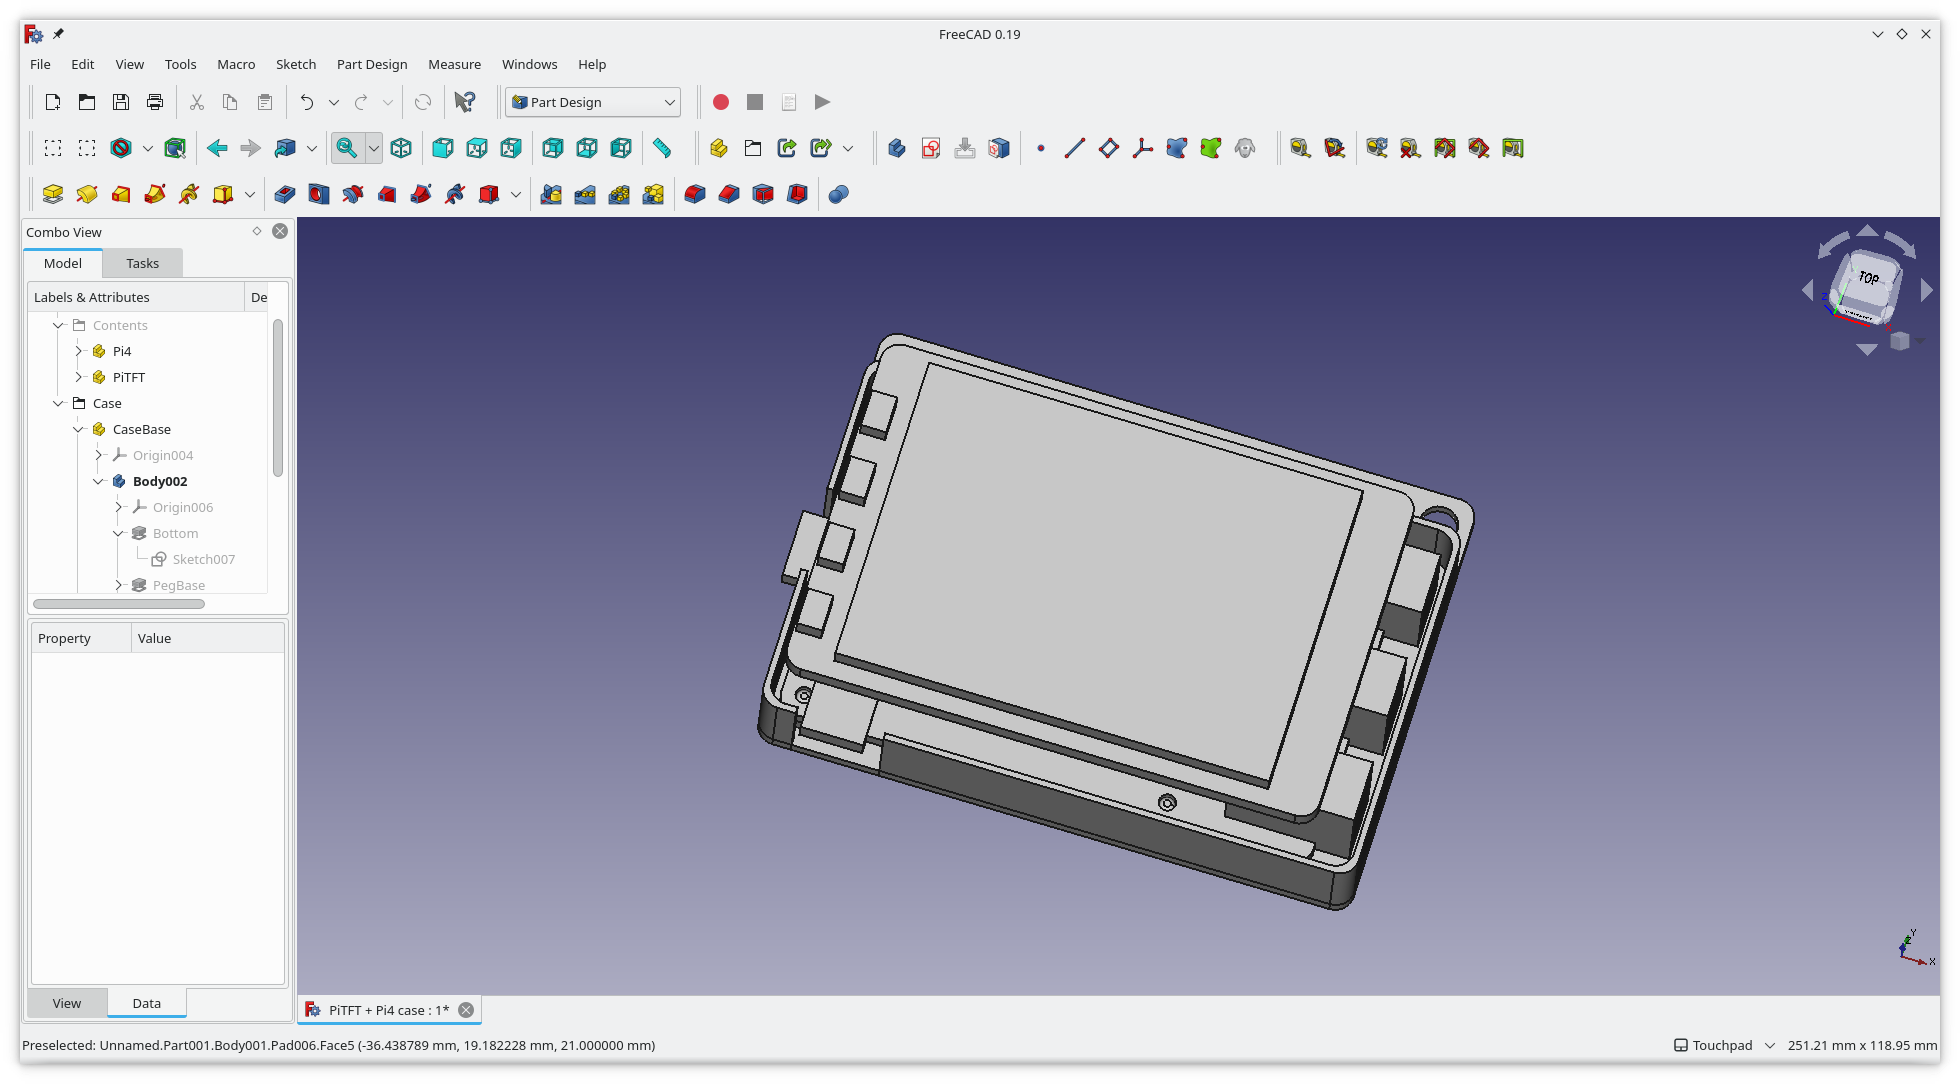
I decided to create a case for my Raspberry Pi and PiTFT based home automation control panel shown in the video below.
To make this happen I first drew the important parts of the Raspberry Pi and the PiTFT hat, to be able to check that the case actually fits the contents. Then I dove into the creation of an enclosure.
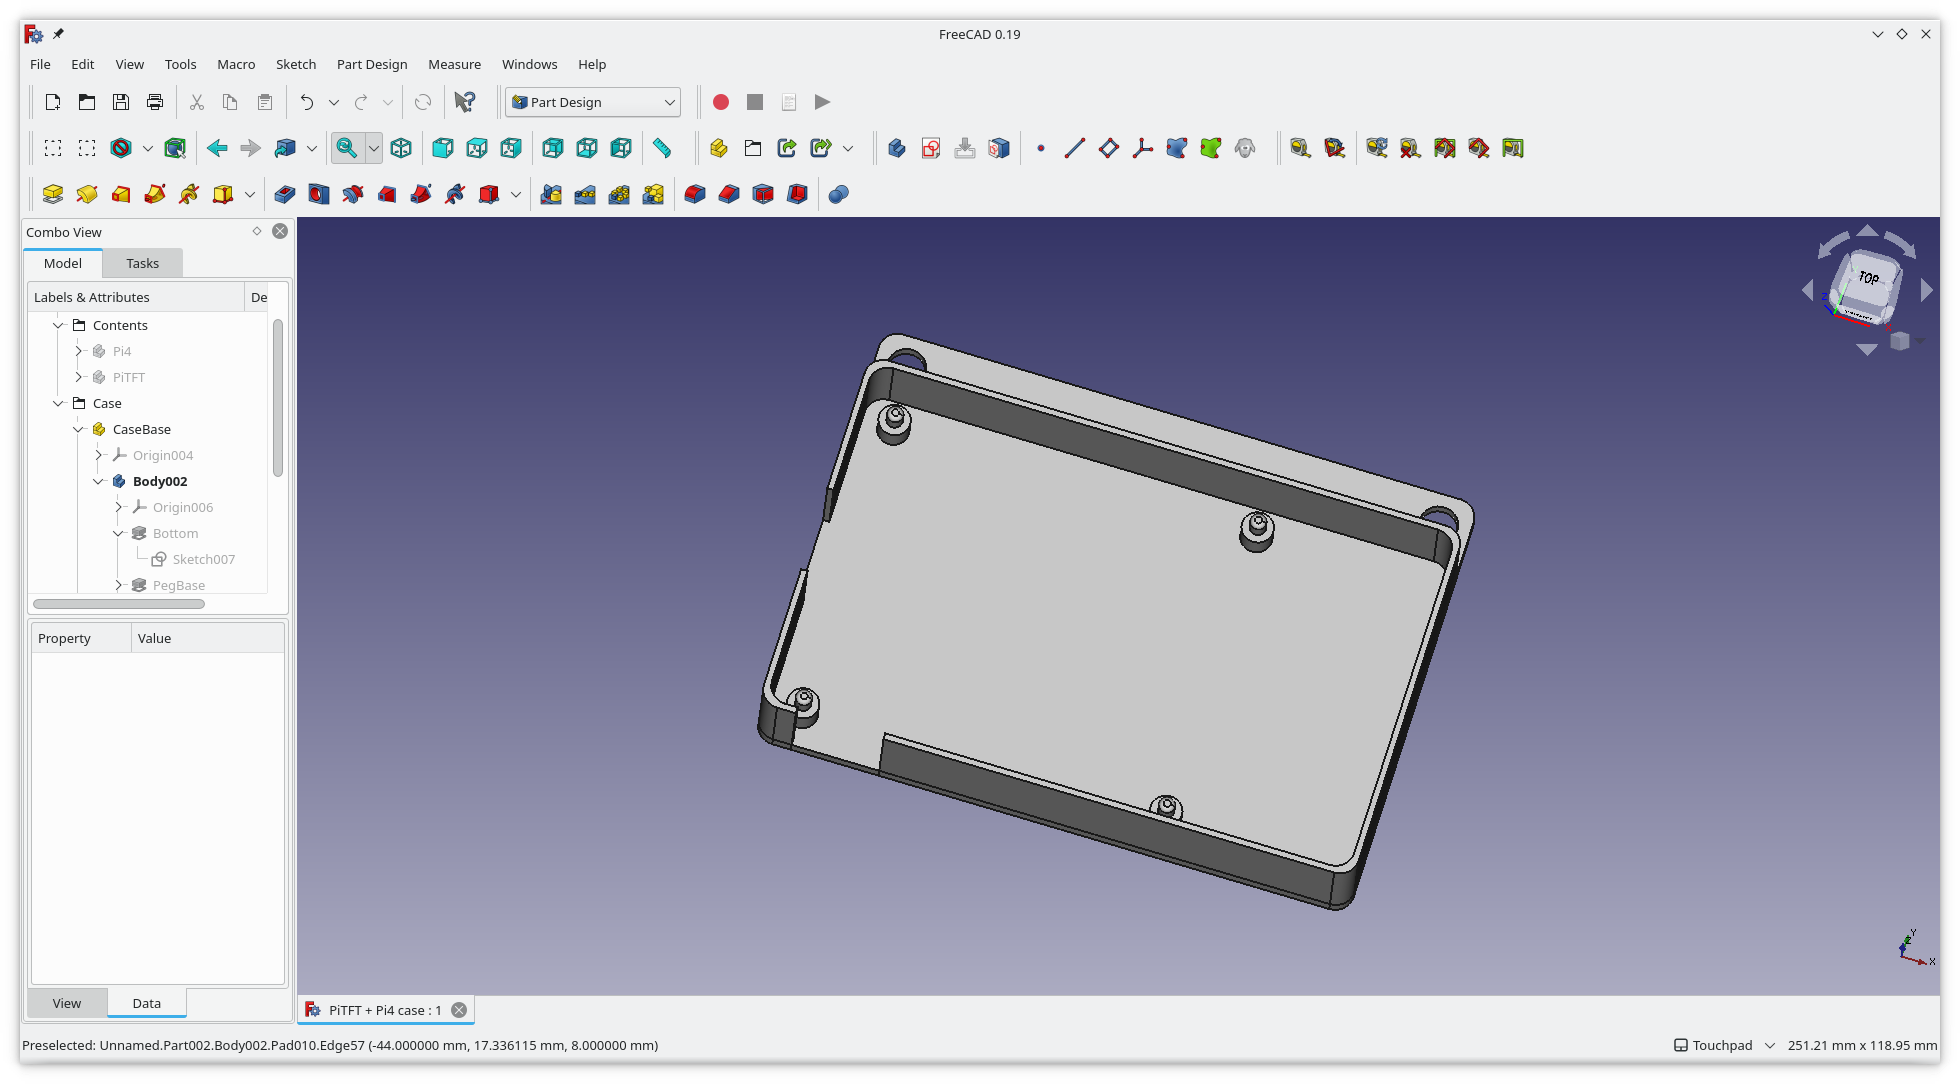
The process of sketching, padding, rinse, and repeat is easy and somewhat tedious. I bet there are lots of ways to optimize this. E.g. by parametrize some dimensions to avoid having to “hardcode” them into each sketch. I guess smarter people can share some reference points between sketches too, e.g. to align the holes in the Raspberry Pi to the pegs and peg feet. I’ll learn this the next time around.
Having designed a bottom half, I decided to test fit it, so time to slice it up and then print it. Yes, I use the slicer that came with the printer, as I don’t want to tinker with the printer, but rather with the things I print.
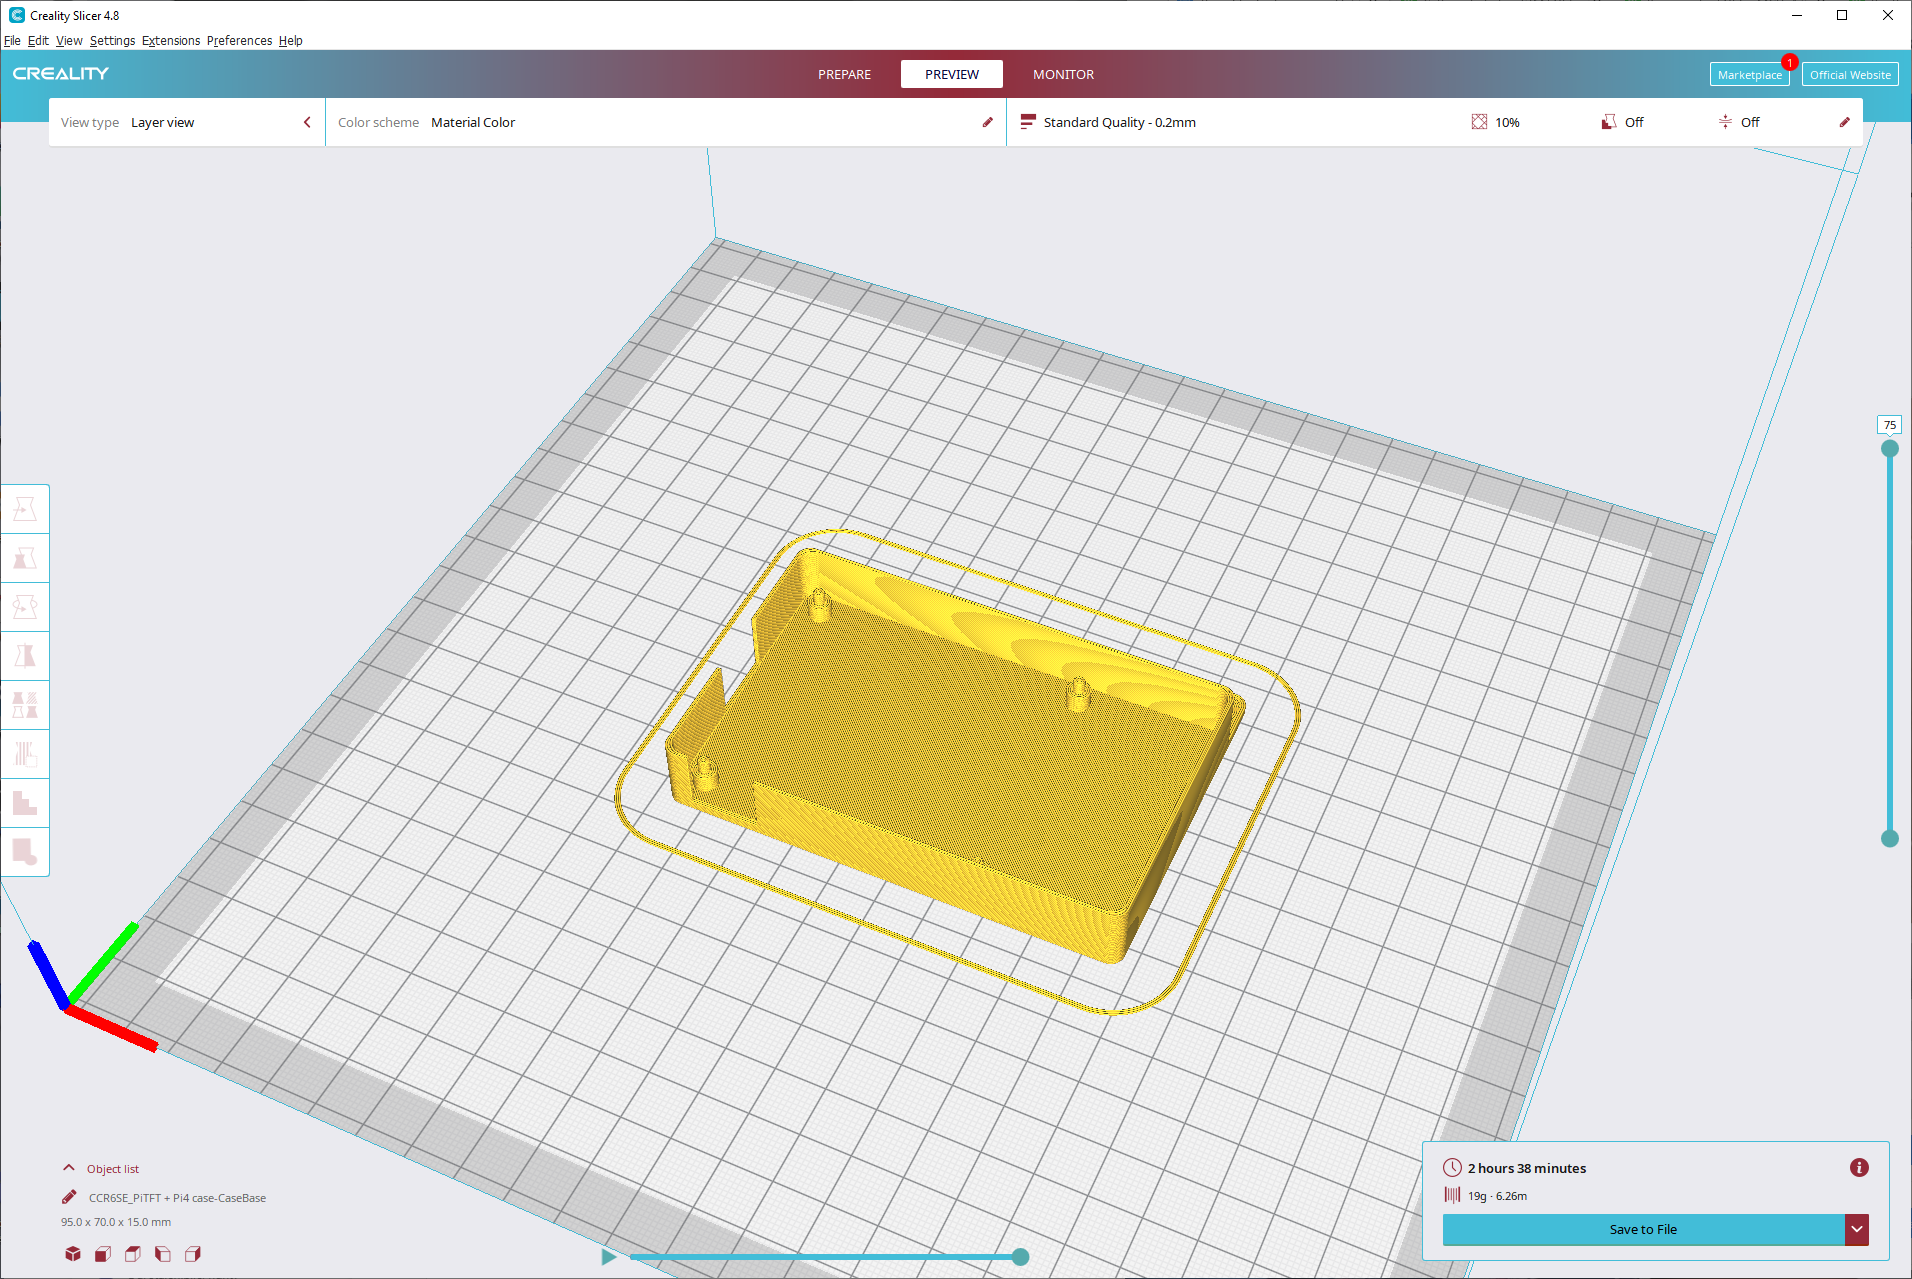
Below, you can see the end result from the first test fitting. Hopefully the picture below shows something that fits as I bravely wrote this while printing. If not, then I really learned something, because I made a mistake.

Update! Turns out I made a 1mm mistake towards the bottom. The two HDMI connectors and the audio port project out more than I expected. Apart from that it sort of works. Now I’m printing v2 with 0.5mm thicker walls and the necessary adjustments to fit the ports.